Auto-Responder Campaigns in Echo

About
Auto-Responders provide you the ability to set up pre-determined messages to go out at pre-determined times for any referrer/sources that offer this option. In Echo, these are considered subscriptions outside of the normal conversation flow, until/unless the client starts a conversation with you as a result of these messages.
Referrer/Sources You Can Use with Autoresponders
- SMS
- Telegram
- Line
Auto-responder setup for each of these source types is similar, but due to US short code and long code (phone number) regulations, SMS/Texting autoresponder setup has some additional steps. This document will use the SMS source as the primary example for auto-responder setup.
Campaign Creation
There are two parts to setting up and managing your SMS Auto-responder campaigns. The first step is to fill out the required information used in the opt-in, help, and stop messages. The second step is message creation and managing subscribers.
Go to Echo>Admin>Autoresponders
Select the "text" button for the SMS integration type.

Select the source/referrer name for which you want to set up an auto-responder by clicking on the word “campaign” beside the source.

To create a new campaign, select the “new” button.

To edit a campaign that has a “missing information” error, first click on the “edit” button to provide some new information about your campaign. Once you’ve completed this, you will be able to select “messages” and edit your campaign.

"New" and "Edit" will take you to the campaign creation form. Please fill in the require fields.
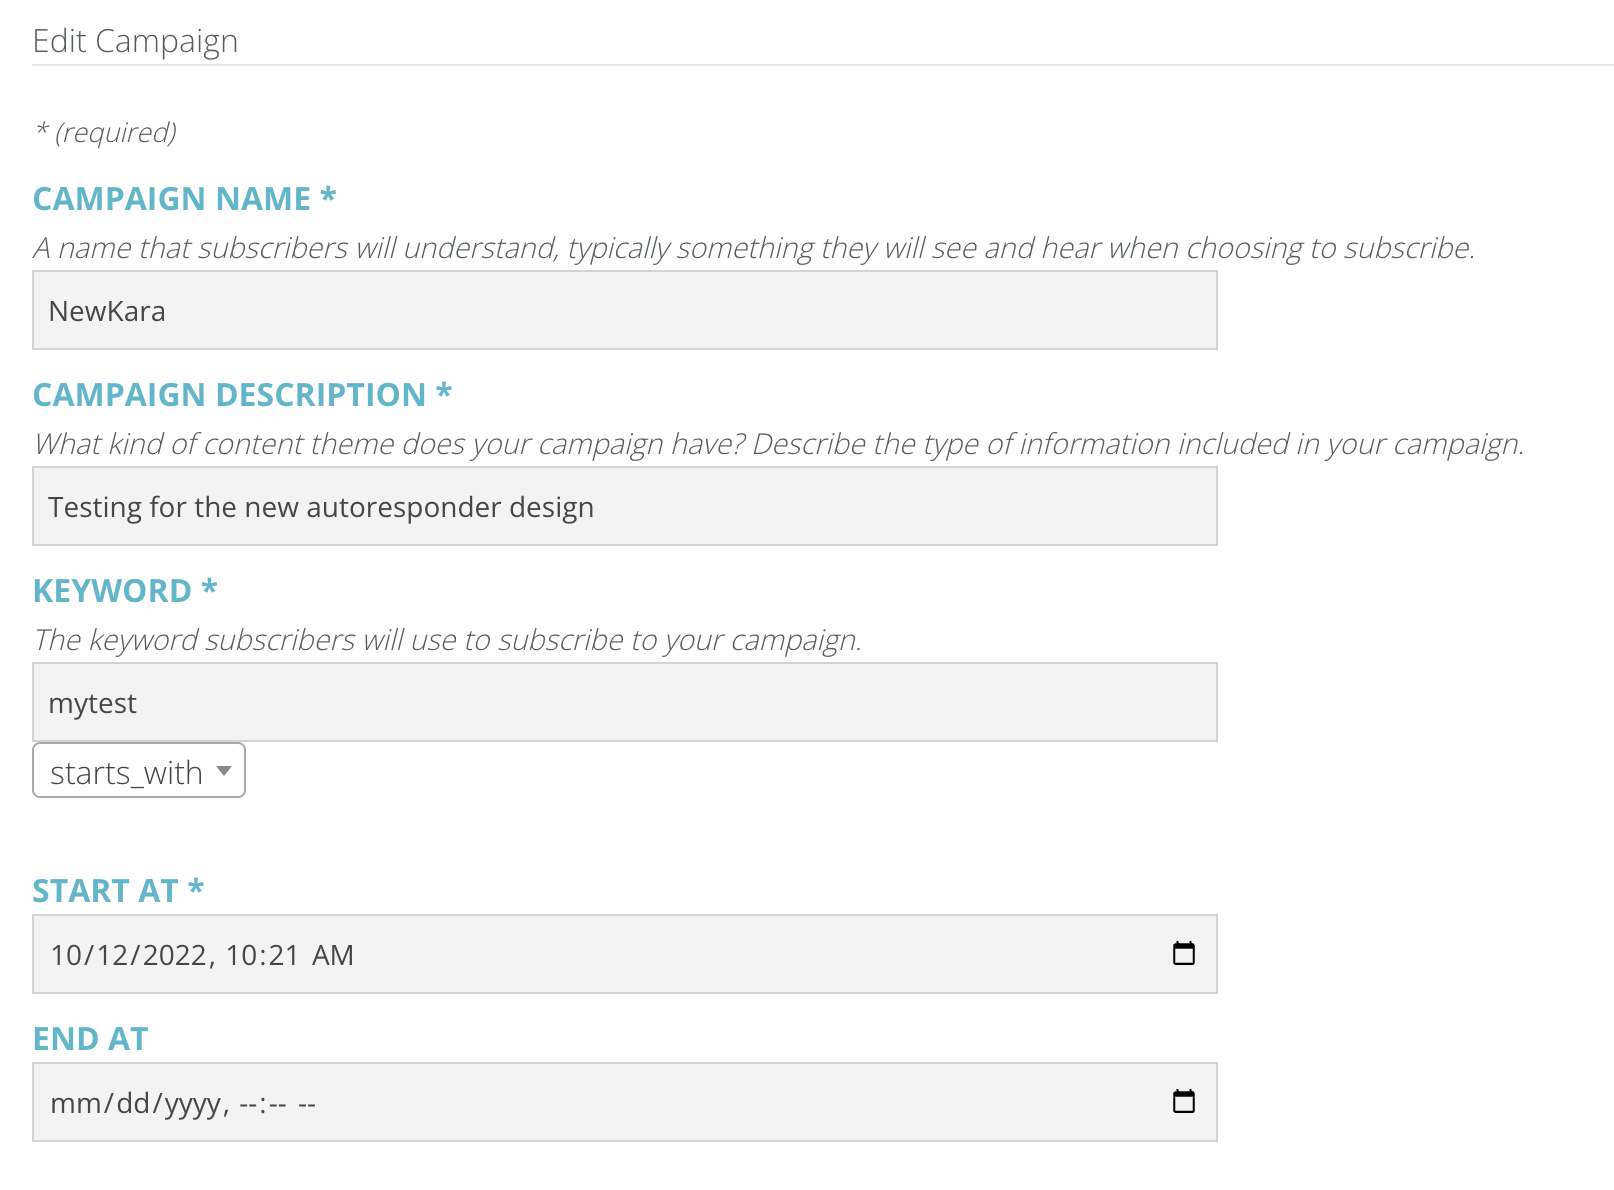
Campaign Form Fields
Campaign Name: A name that subscribers will understand, typically something they will see and hear when choosing to subscribe to this campaign.
Campaign Description: What kind of content theme does your campaign have? Describe the type of information included in your campaign. (ex. biblical follow-up)
Keyword: The keyword subscribers will use to subscribe to your campaign.
Start At: When you want this campaign to be active for new subscribers.
End At: If you want to add a specific date the campaign is over and won't take any more subscribers, you can enter that here. *If you provide an end date for your campaign, Echo will automatically archive your campaign for you one the end date is past.
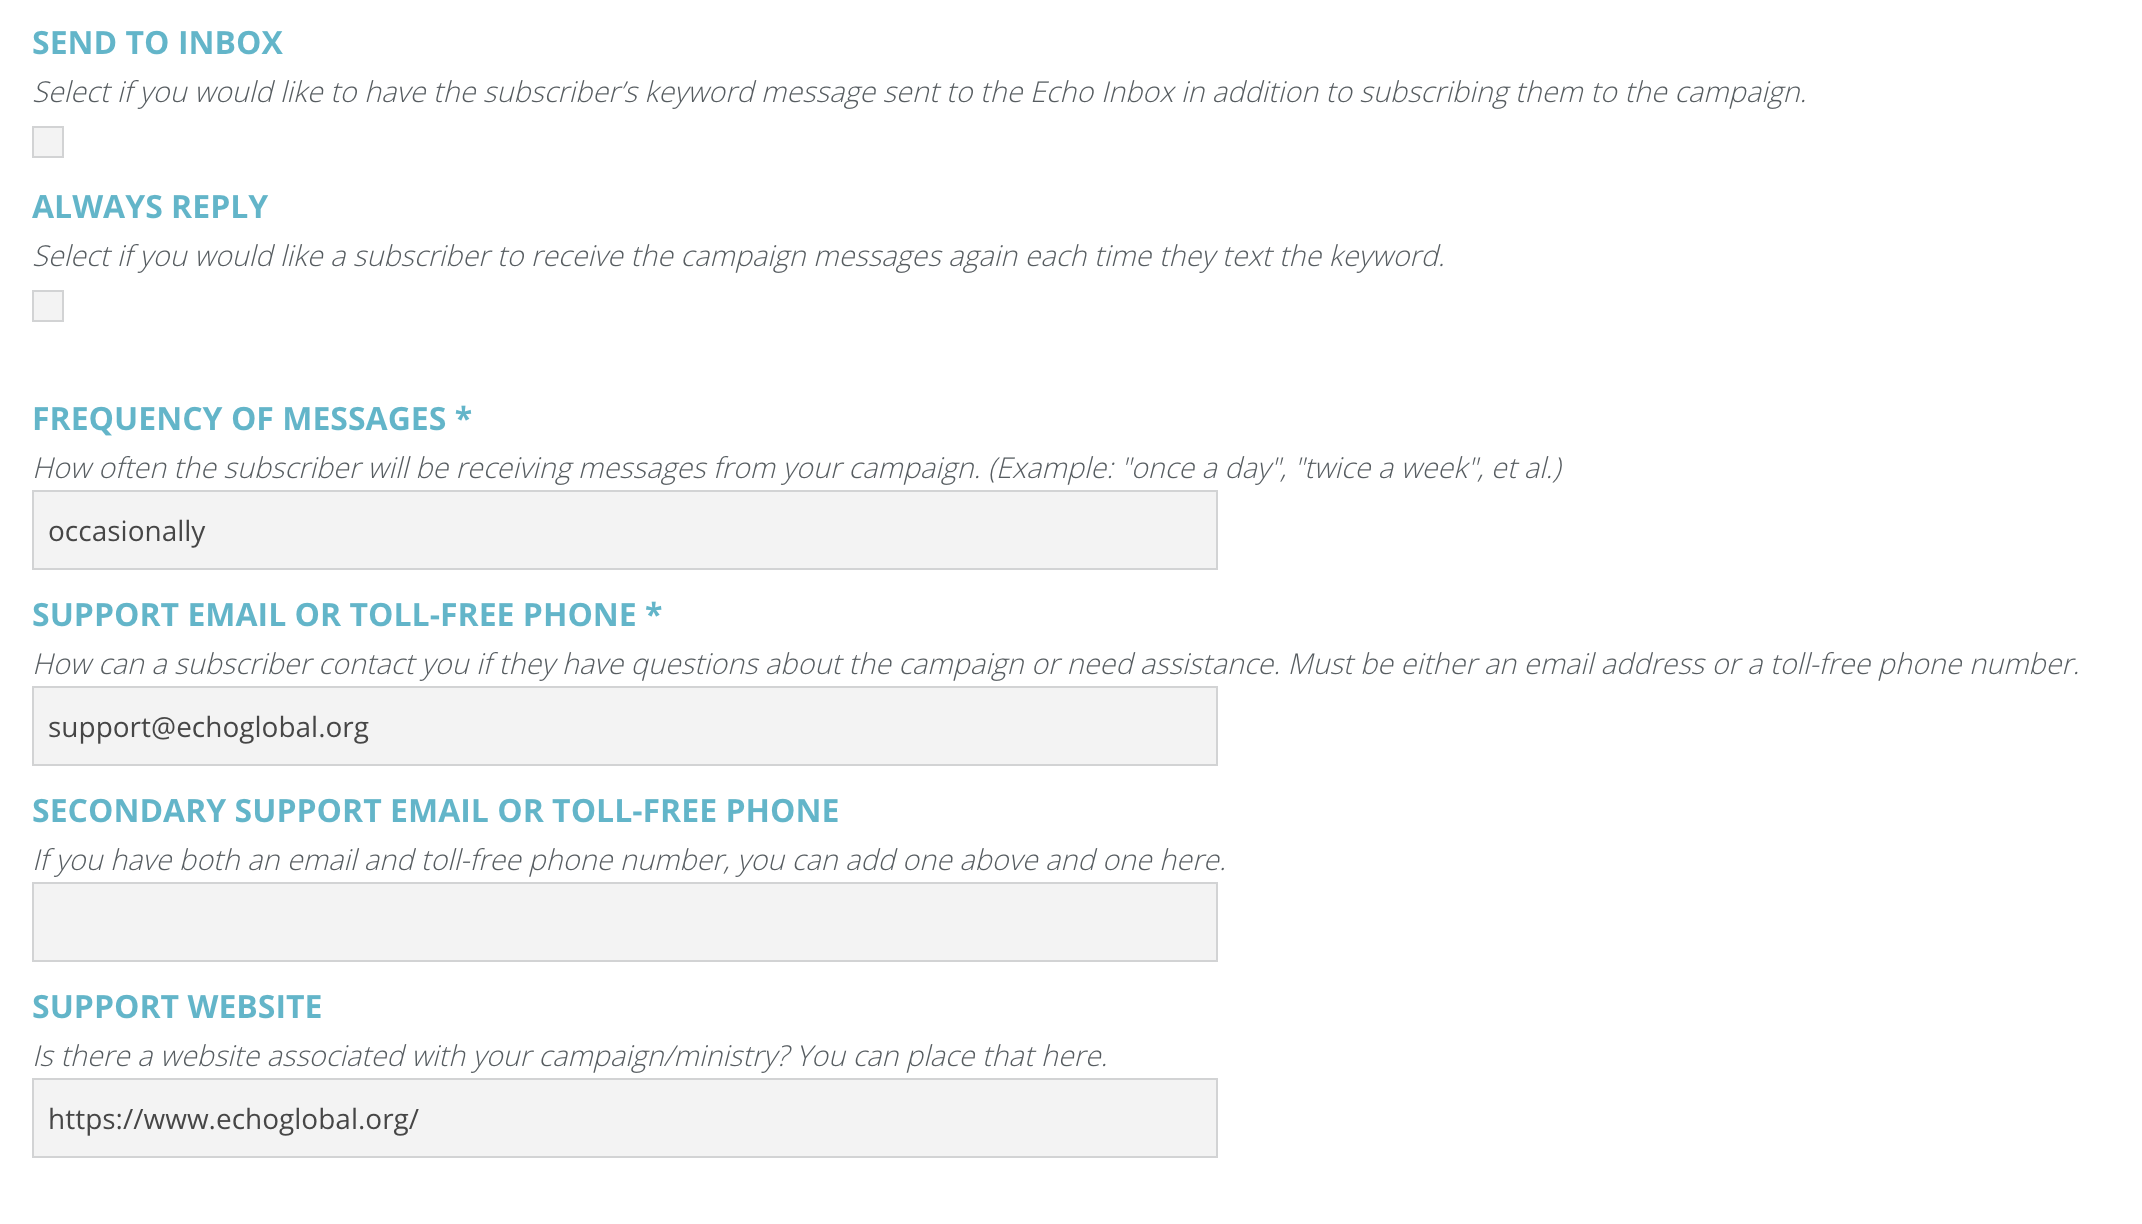
Send to Inbox: Select if you would like to have the subscriber’s keyword message sent to the Echo Inbox in addition to subscribing them to the campaign.
Always Reply: Select if you would like a subscriber to receive the campaign messages again each time they text the keyword. (If this is not checked, subscribers will only receive the messages the first time through and any time they text the same keyword after that it will enter the Echo Inbox instead.)
Frequency of Messages: How often the subscriber will be receiving messages from your campaign. (ex. Once a week for 3 weeks, Twice a week)
Support email or toll-free phone: How can a subscriber contact you if they have questions about the campaign or need assistance. Must be either an email address or a toll-free phone number.
Secondary support email or toll-free phone: If you have both an email and toll-free phone number, you can add one above and one here.
Support website: Is there a website associated with your campaign/ministry? You can place that here.
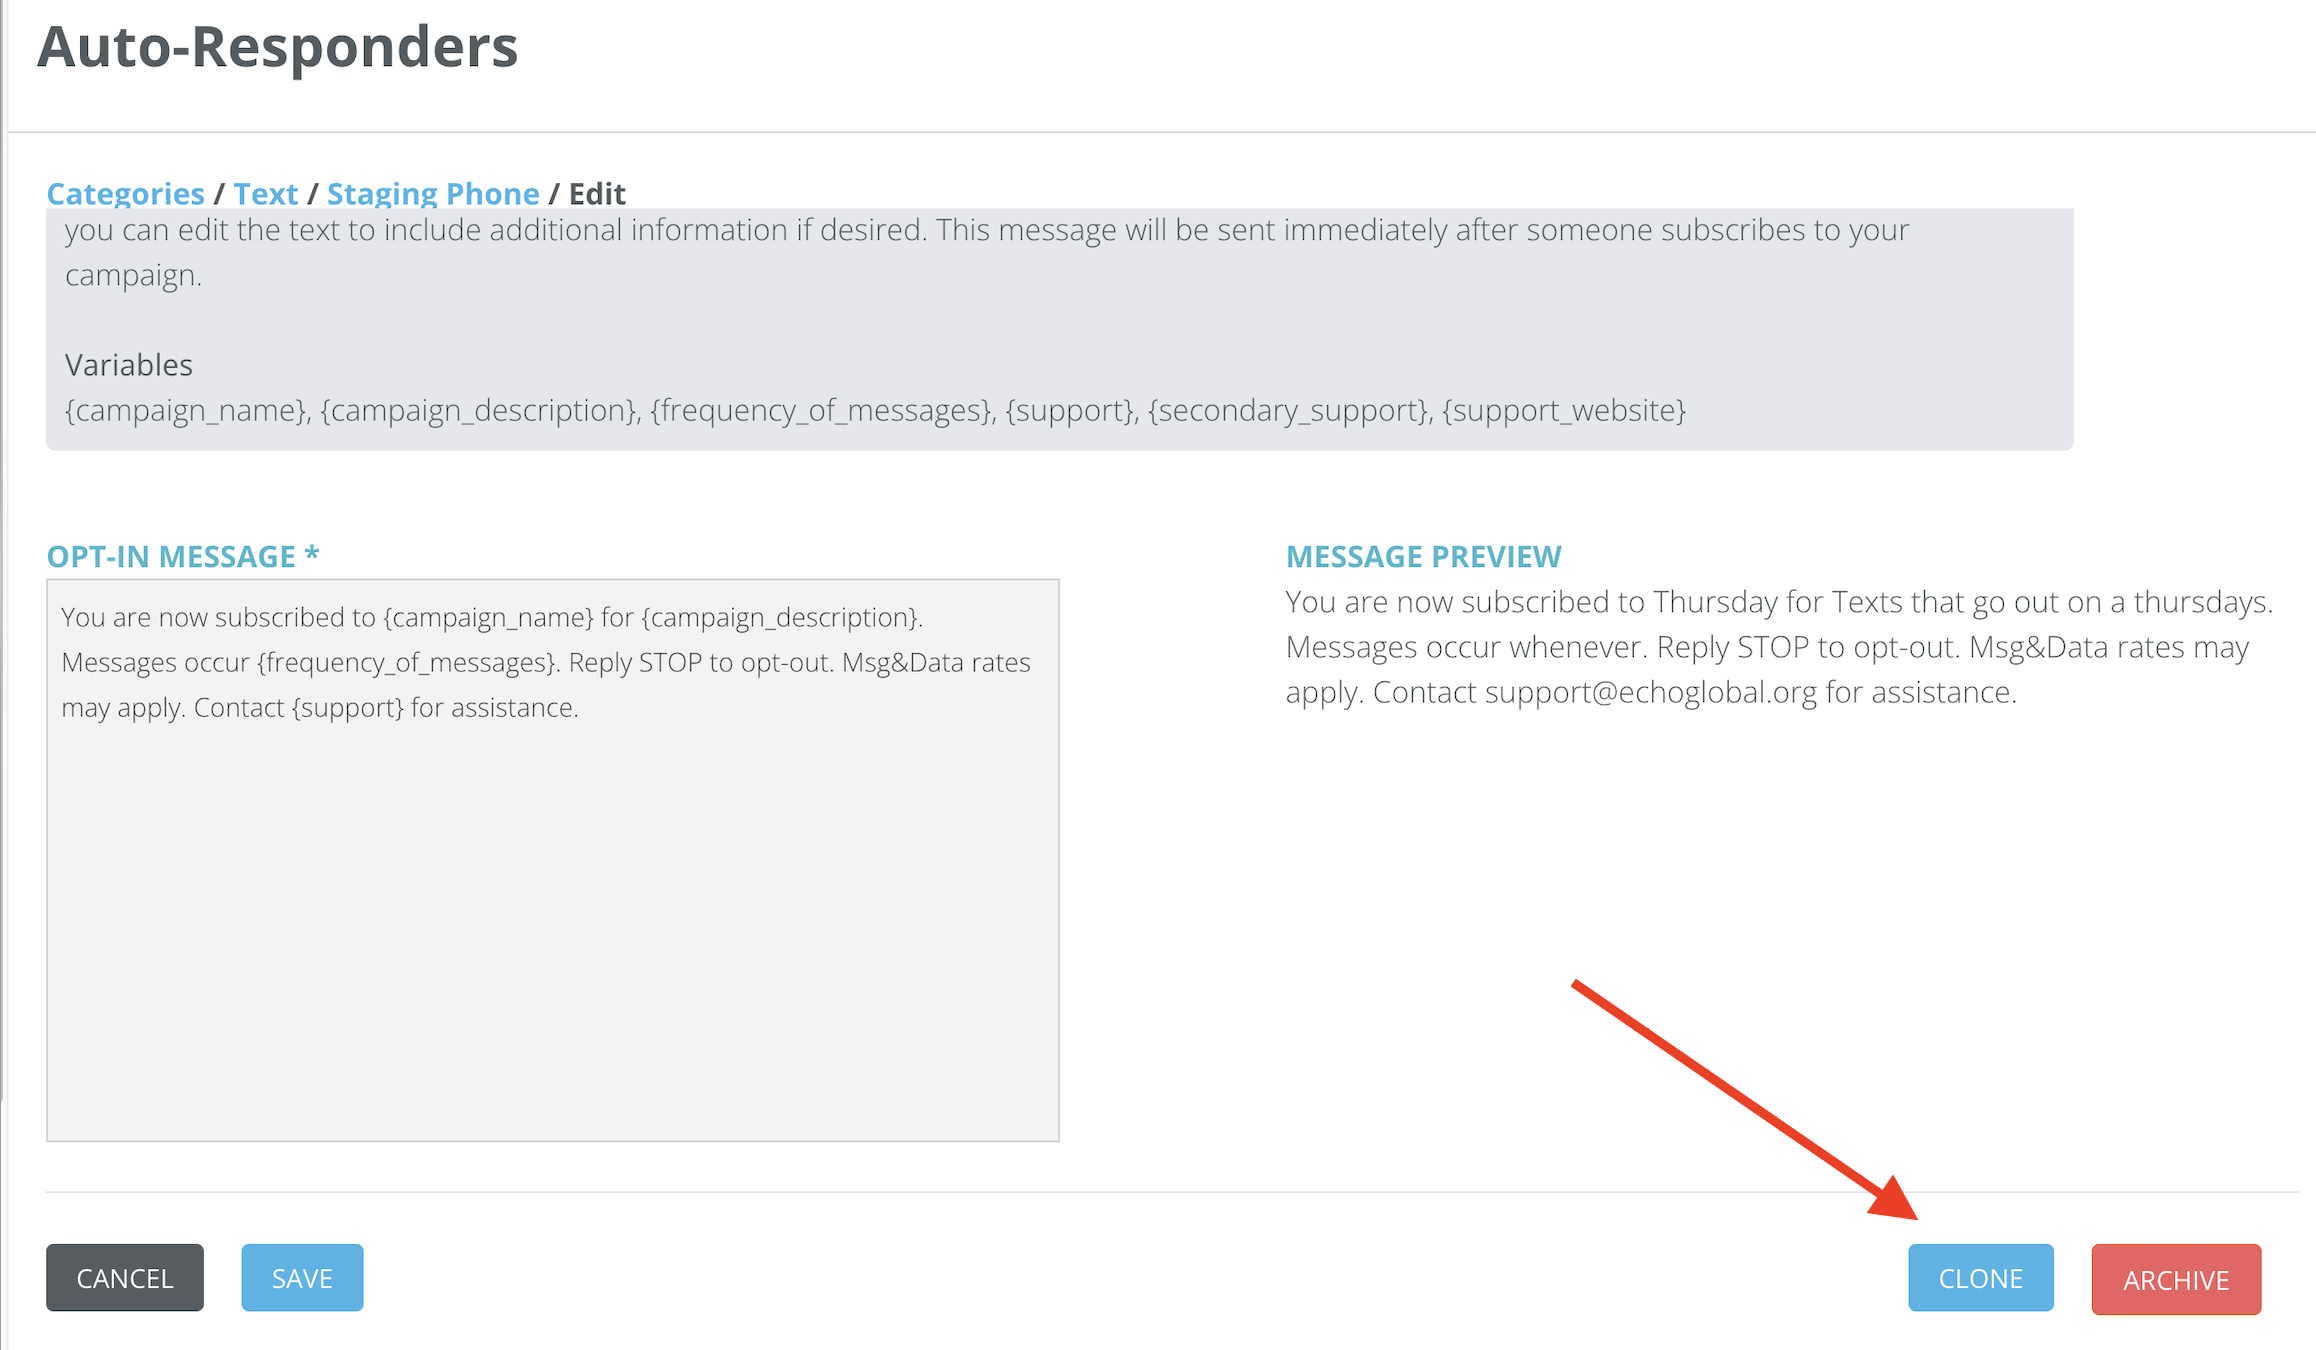
Opt-In Builder Template
SMS standards require specific information for the first message sent out from any new campaign, including an acknowledgement that they’ve subscribed to the campaign in which they intended. The opt-in builder template includes the necessary information for your first message and fills in known variable from the information you've already completed. You can edit the text to include additional information if desired.

Once you have submitted this information, you will be taken to the message creation page to complete the building of your autoresponder stream.
Message Builder
Now that you've added all of the required campaign information, a "Messages" button can be seen beside the Campaign "Edit" button.
Click on the Messages button to begin building (or editing) your auto-responder message stream.

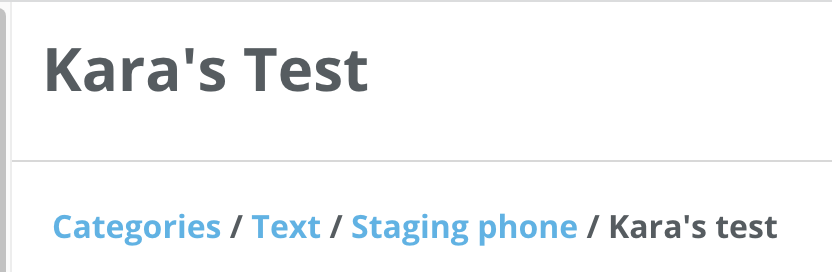
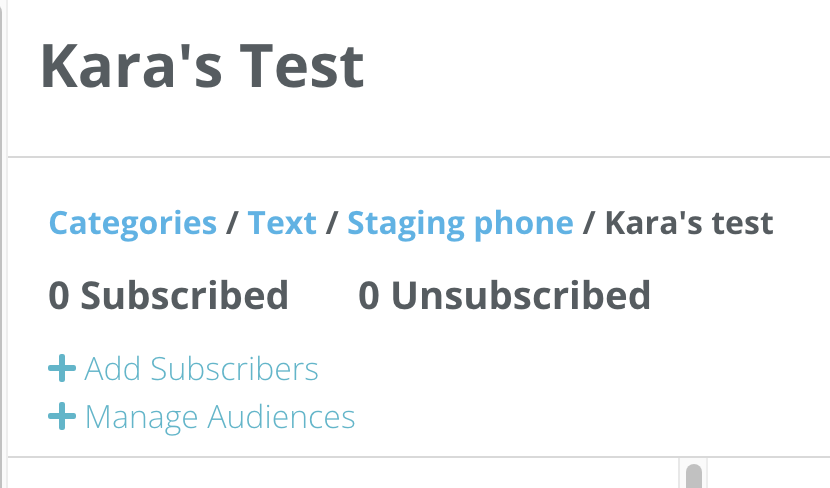
Starting at the top and working your way down, first you will see confirmation that you are in the keyword campaign you are intending to work with as well as a page navigation that easily allows you to go back to the previous page.
Then, you will see the number of people subscribed and unsubscribed to your campaign.

Adding Subscribers
The standard way a subscriber would be added to a keyword campaign is through their own response to a Call to Action you have put out at an event, website marketing, or paper marketing. (aka: Text keyword to phone number).
If you want to manually add one or more phone numbers to your campaign, you can do that here.
Click +Add Subscribers
Type in an individual phone number, a group of phone numbers separated by a comma, or upload a CSV file of phone numbers.
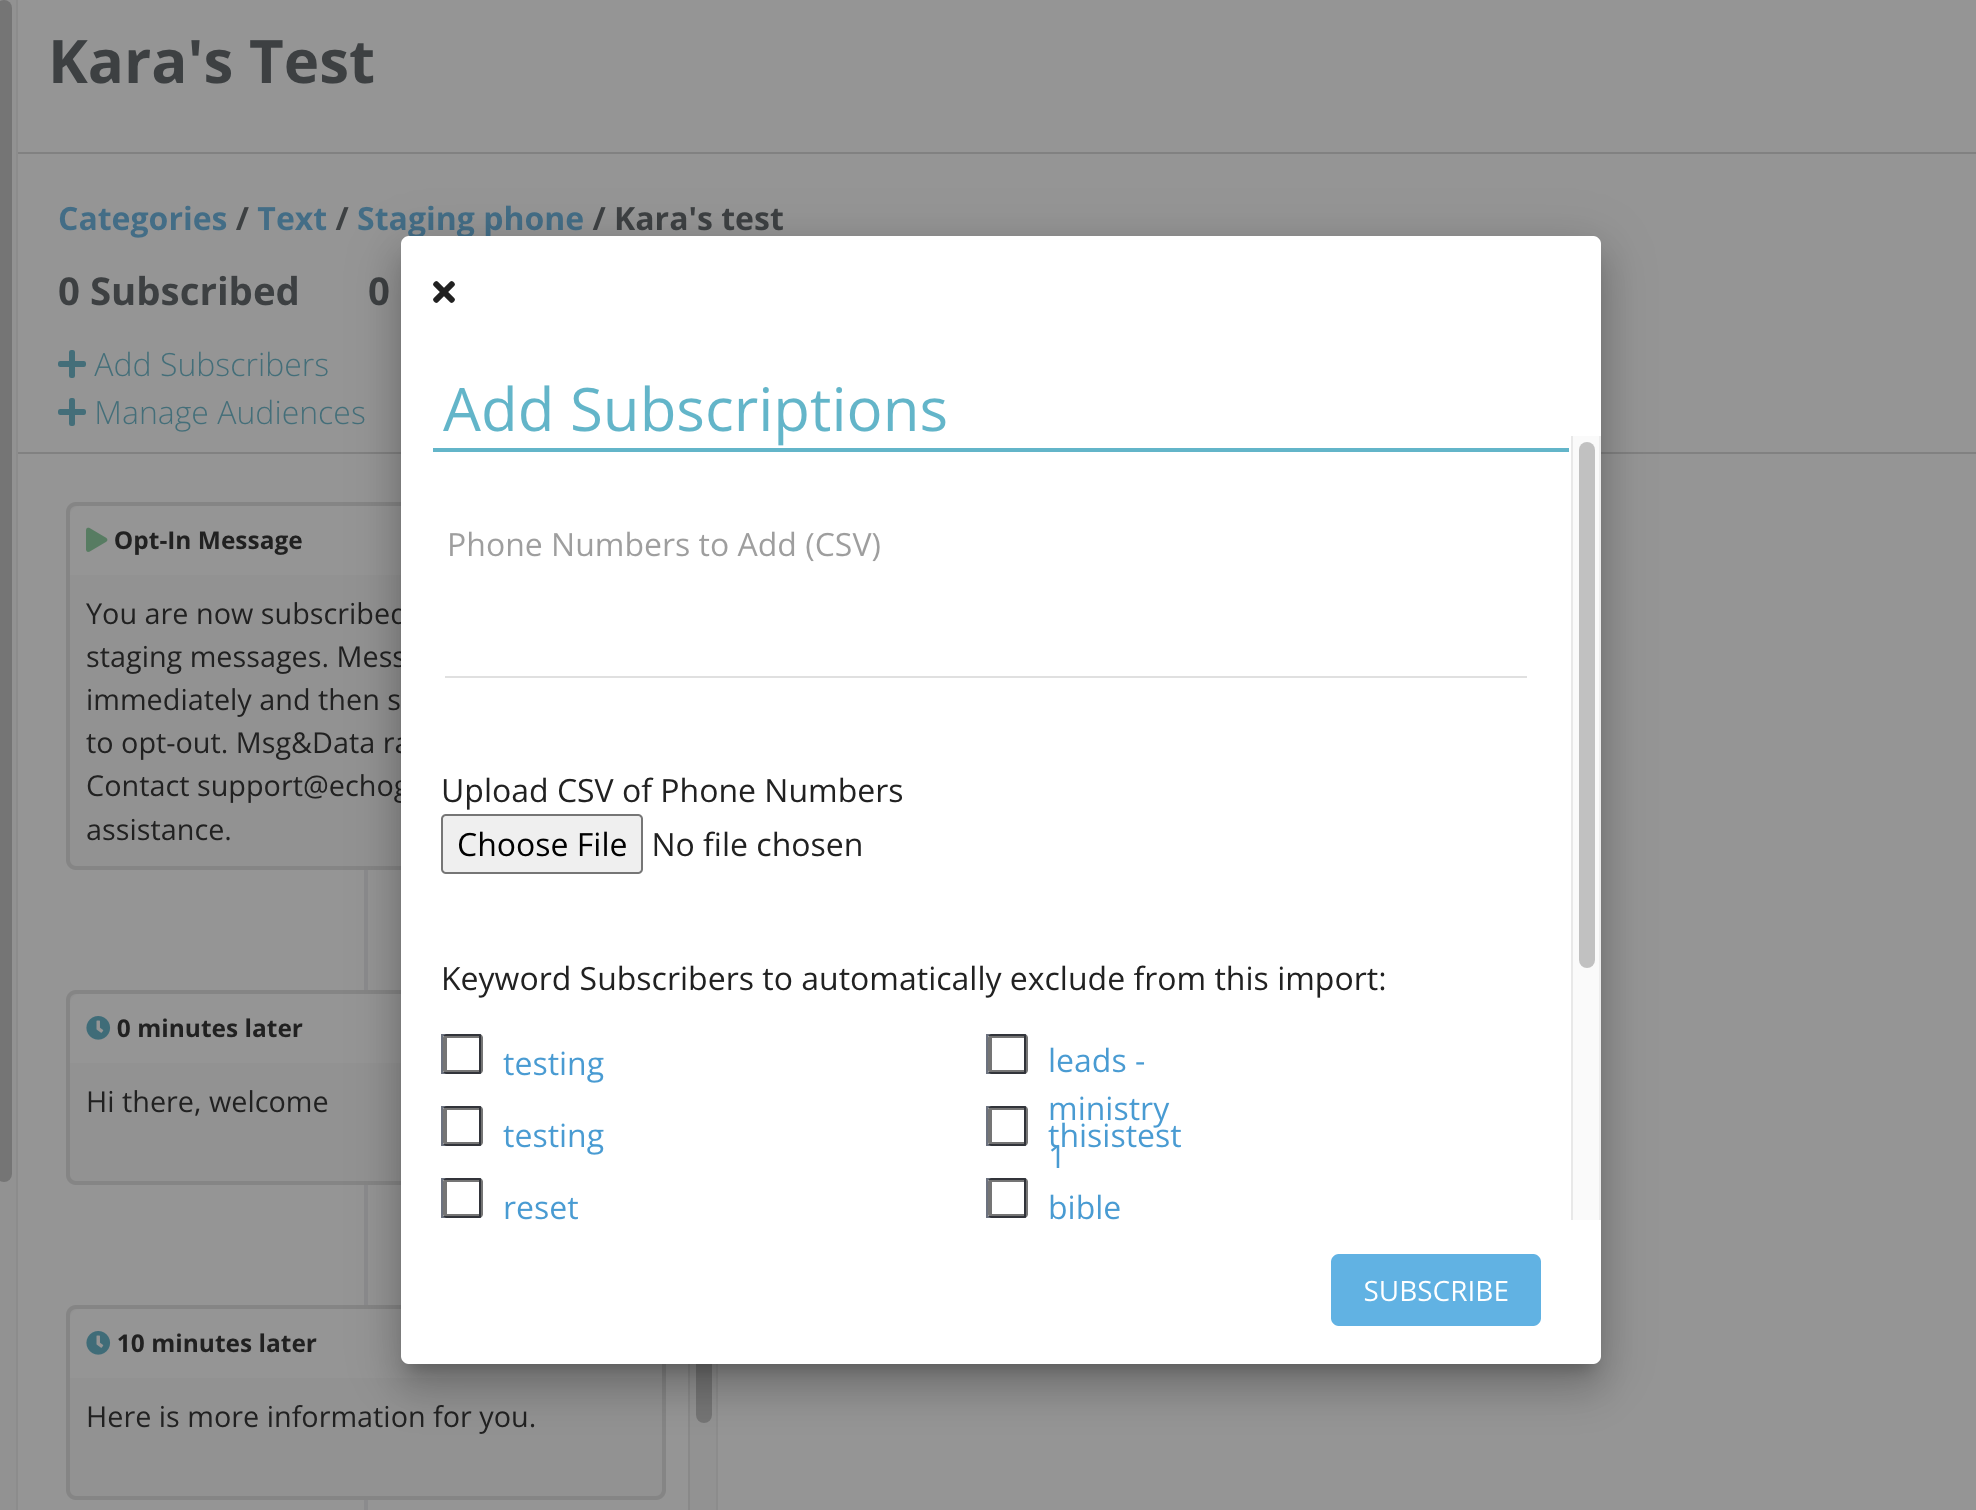
If you want to exclude phone numbers in the upload that might be added to a different keyword campaign, you can select the keyword for which you want subscribers to be excluded from this upload.
Click the "Subscribe" button.
Manage Audiences
Audience groups can be set up in the ECHO CRM. Click Here for Audiences setup instructions (Go to the bottom section of the document).
Once you have Audiences set up, you can add an audience of subscribers to your auto-responder by clicking on +Manage Audiences here.
Select the audience you want to "blast" with your auto-responder so that it is highlighted, and then close out of the box.
Audience subscribers will not be scheduled to receive your message(s) until your auto-responder goes active with the start date you provided for the campaign. This is a safety in the system in case you select the wrong audience first and you need time to make an edit to the audience before your messages go out.
Message Setup
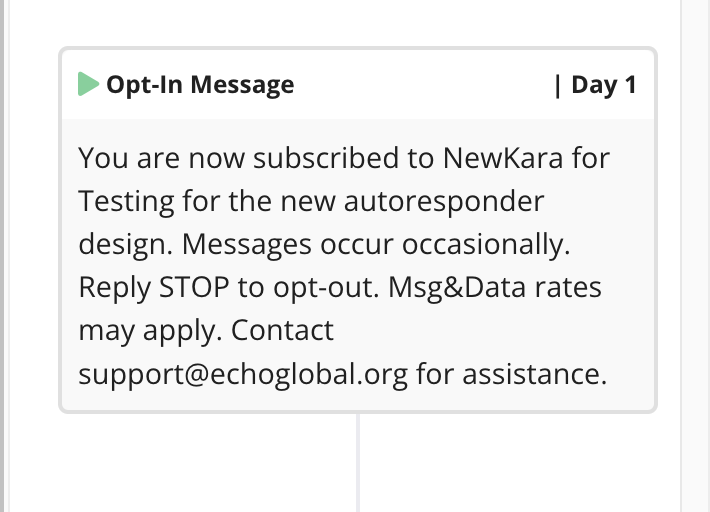
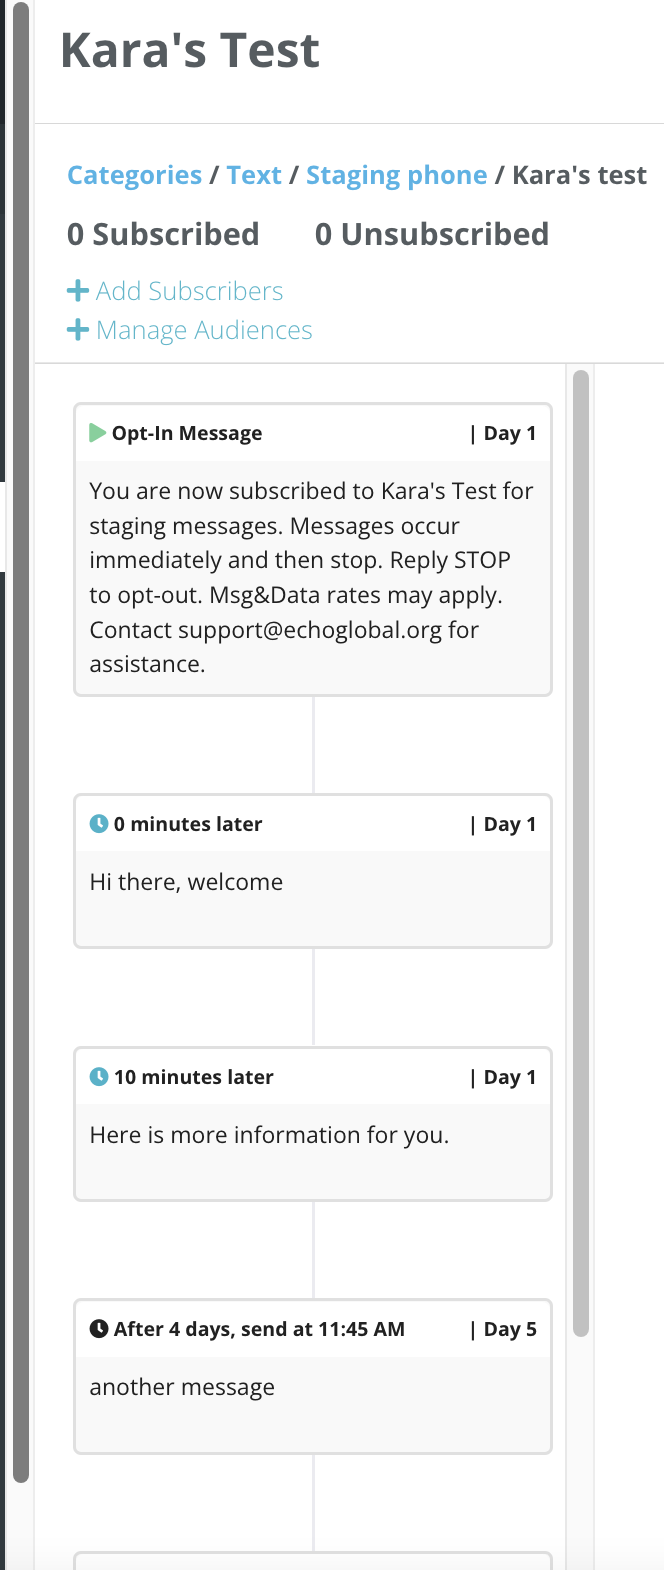
You'll start out by seeing the opt-in message you designed when you set up your campaign. This message cannot be edited here, but shows you the starting point for your additional messages, denoted by the green play button. (To edit the opt-in message, go back and click the edit button on the previous page).
To add your next message, click on + New Message in the next box which will open the message creation form to the right.
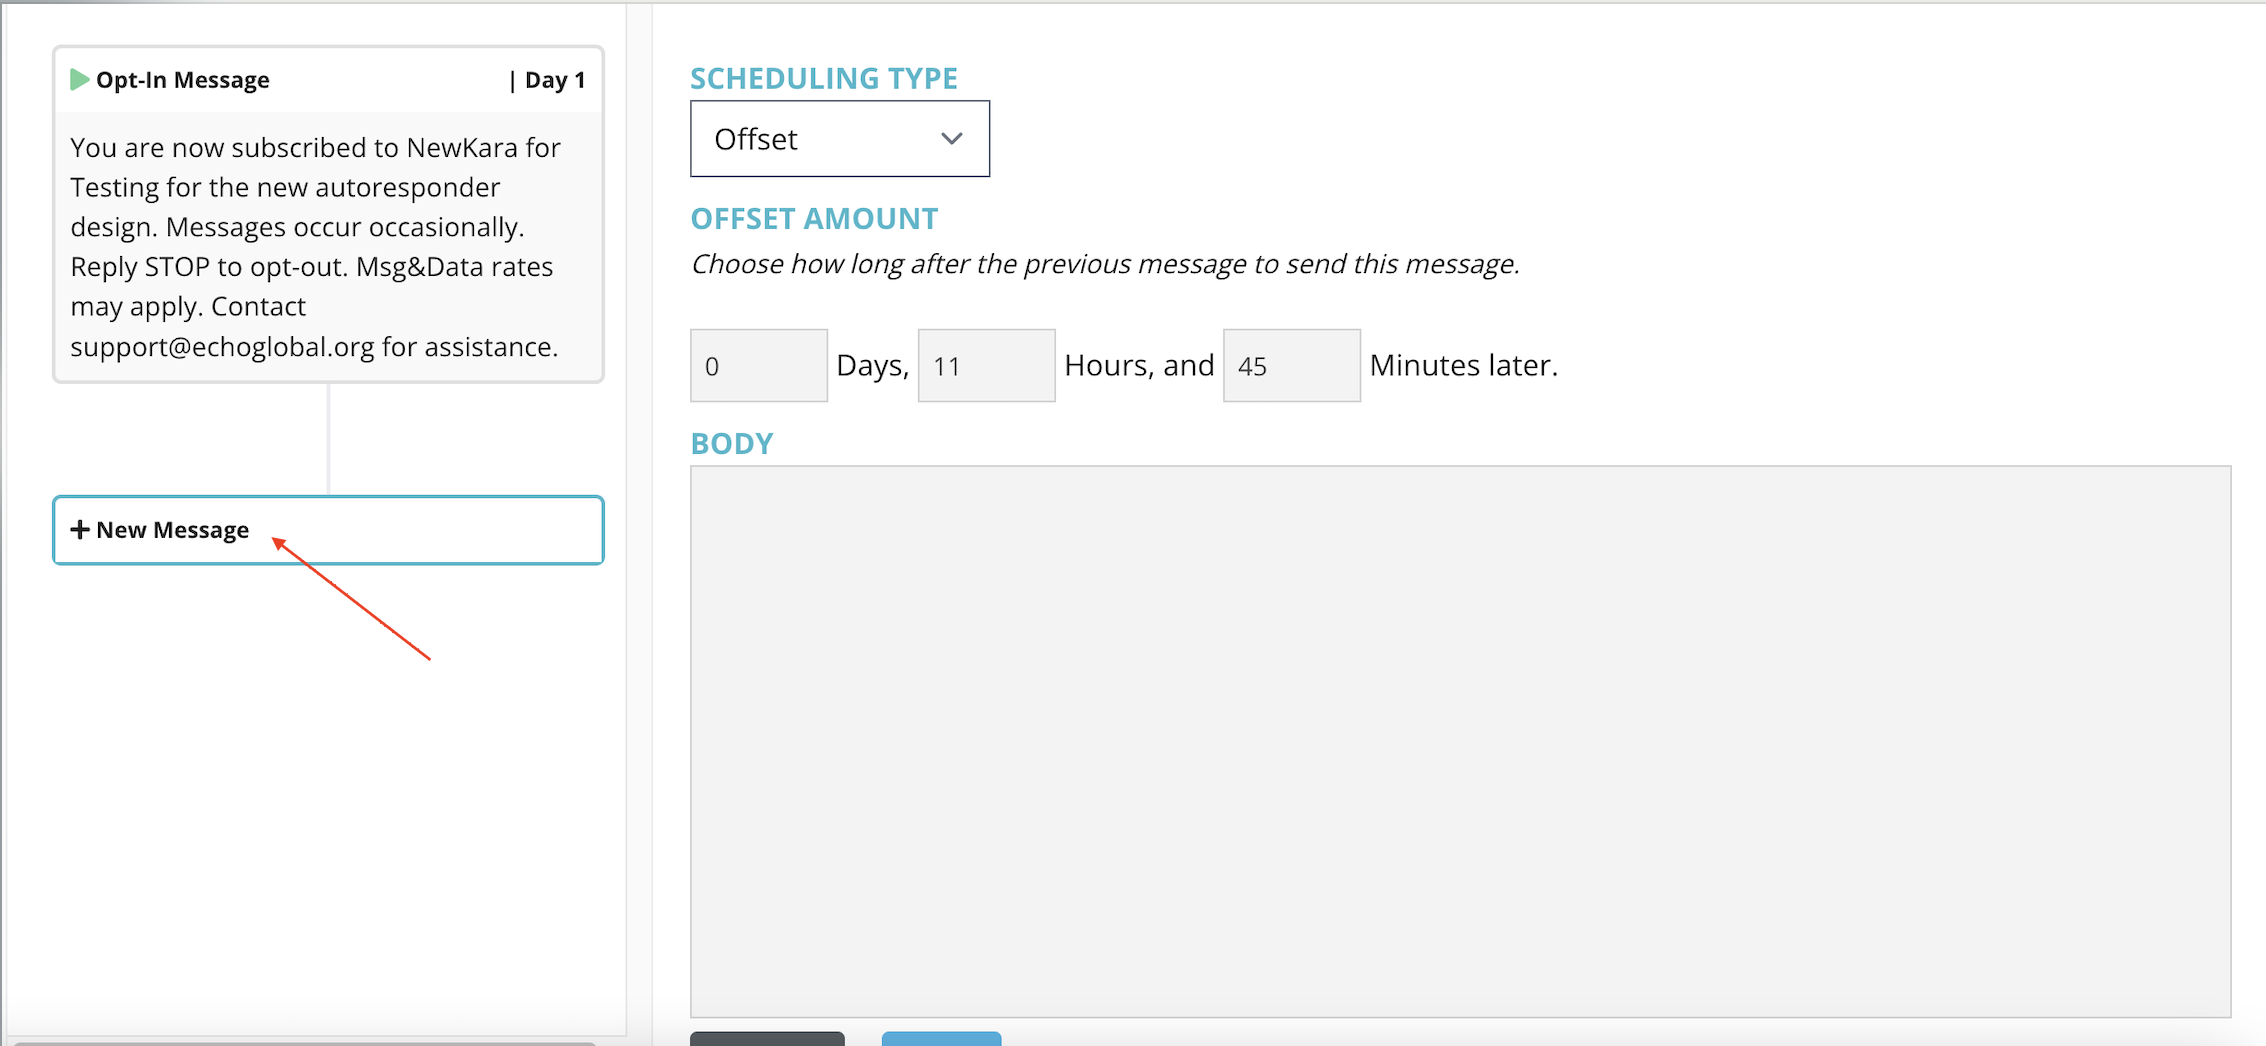
You have 3 scheduling type options, we will discuss each type below as we build our campaign message stream. Each type will also display a description below it as you make the selection.
Offset
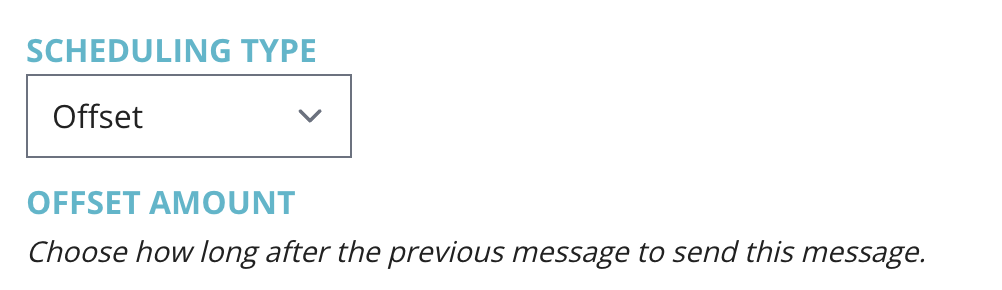
When you set the days/hours/minutes for an offset message. That message will be sent to the subscriber approximately that amount of time after the previous message.
In this example, I have set my second message to go out 0 hours and 15 minutes after the previous message. So, if a subscriber entered the campaign at noon and received the first message right away, this subscriber will get the second message at approximately 12:15pm that same day.
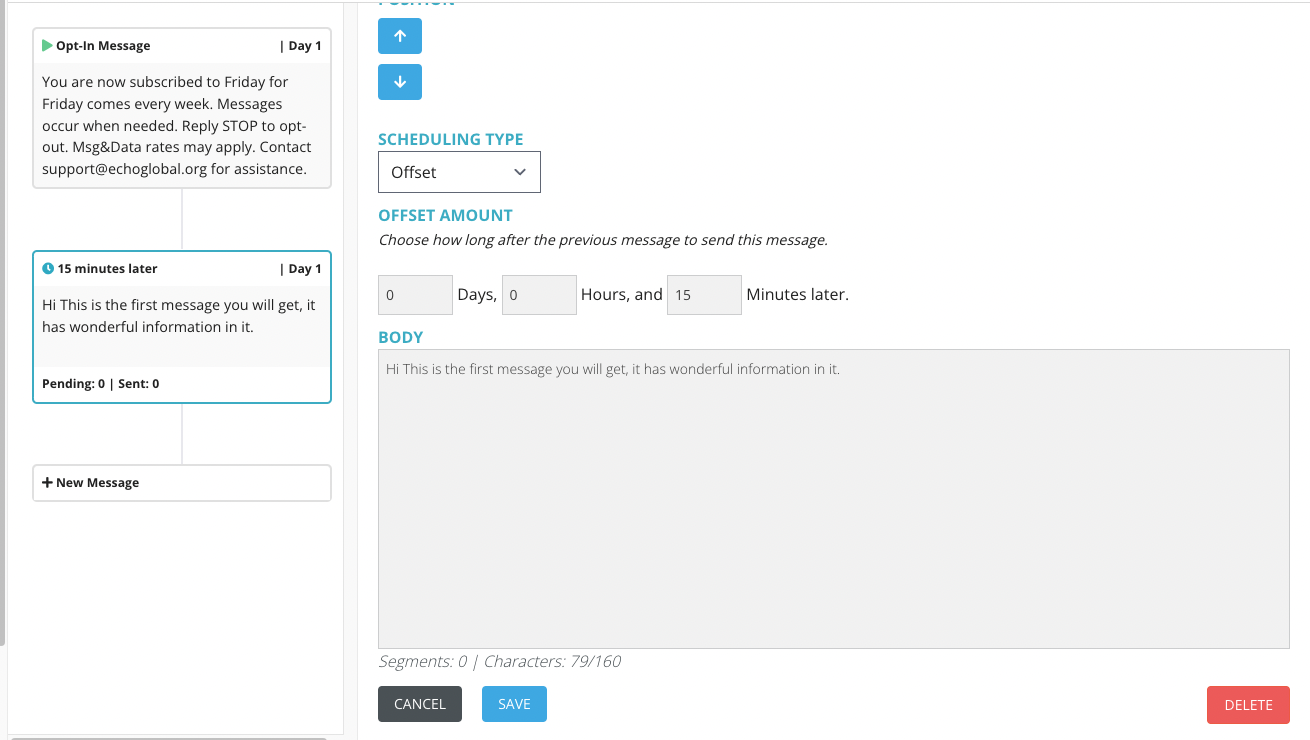
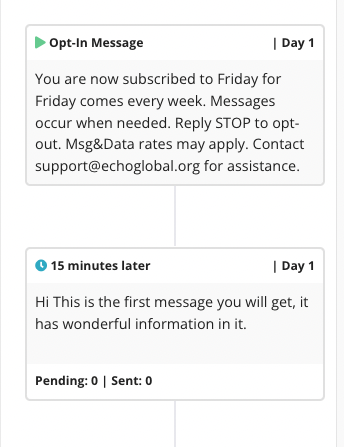
When I click save, I can now see that second message in its proper order and a clear description of when that message will go out in comparison to the previous message. The offset option is denoted by the small, blue clock icon.
Time of Day
For my next message, I am going to use the Time of Day scheduling option. I'm going to click on the + New Message box under my previous message and then change the scheduling type to Time of Day.
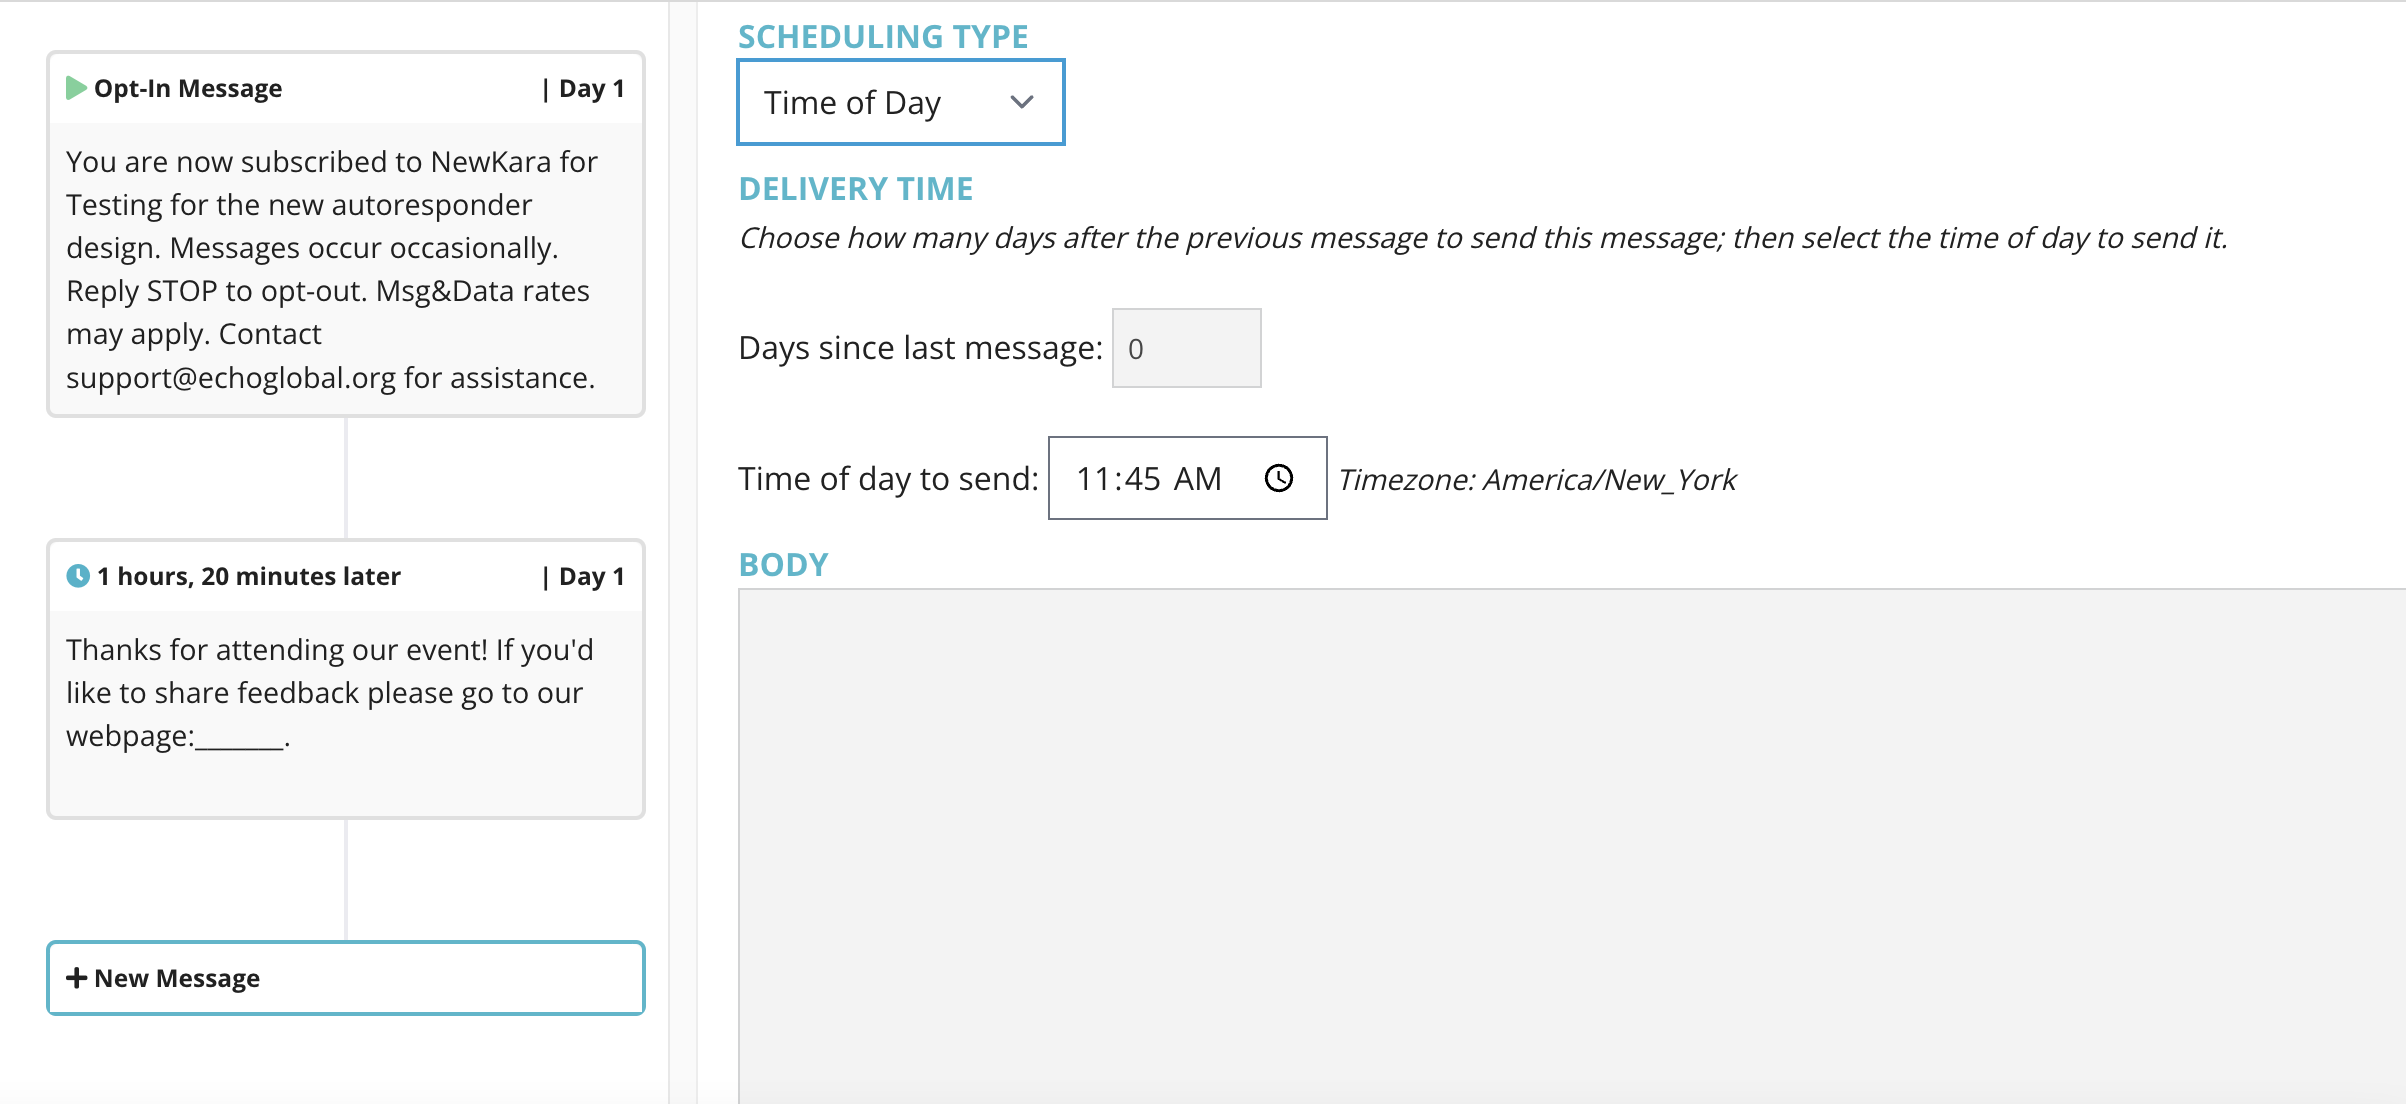
Time of Day messages will wait a certain number of days you specify after the last message and then send at approximately the time specified.
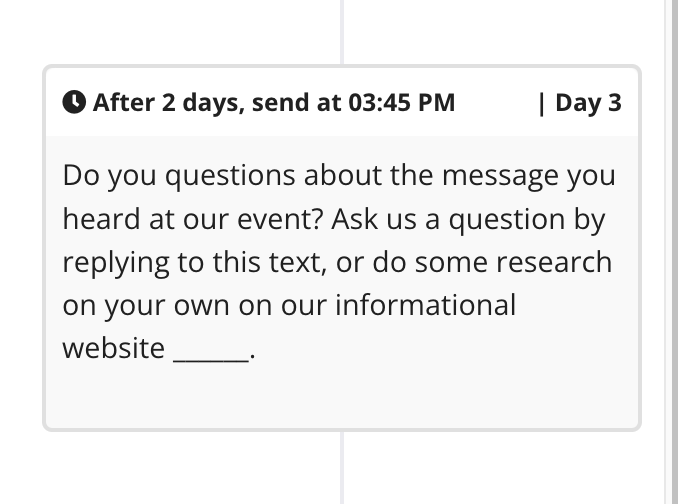
In my example, the third message will go out 2 days after the second message, at 3:45pm. (Which will be day 3 of the entire campaign).
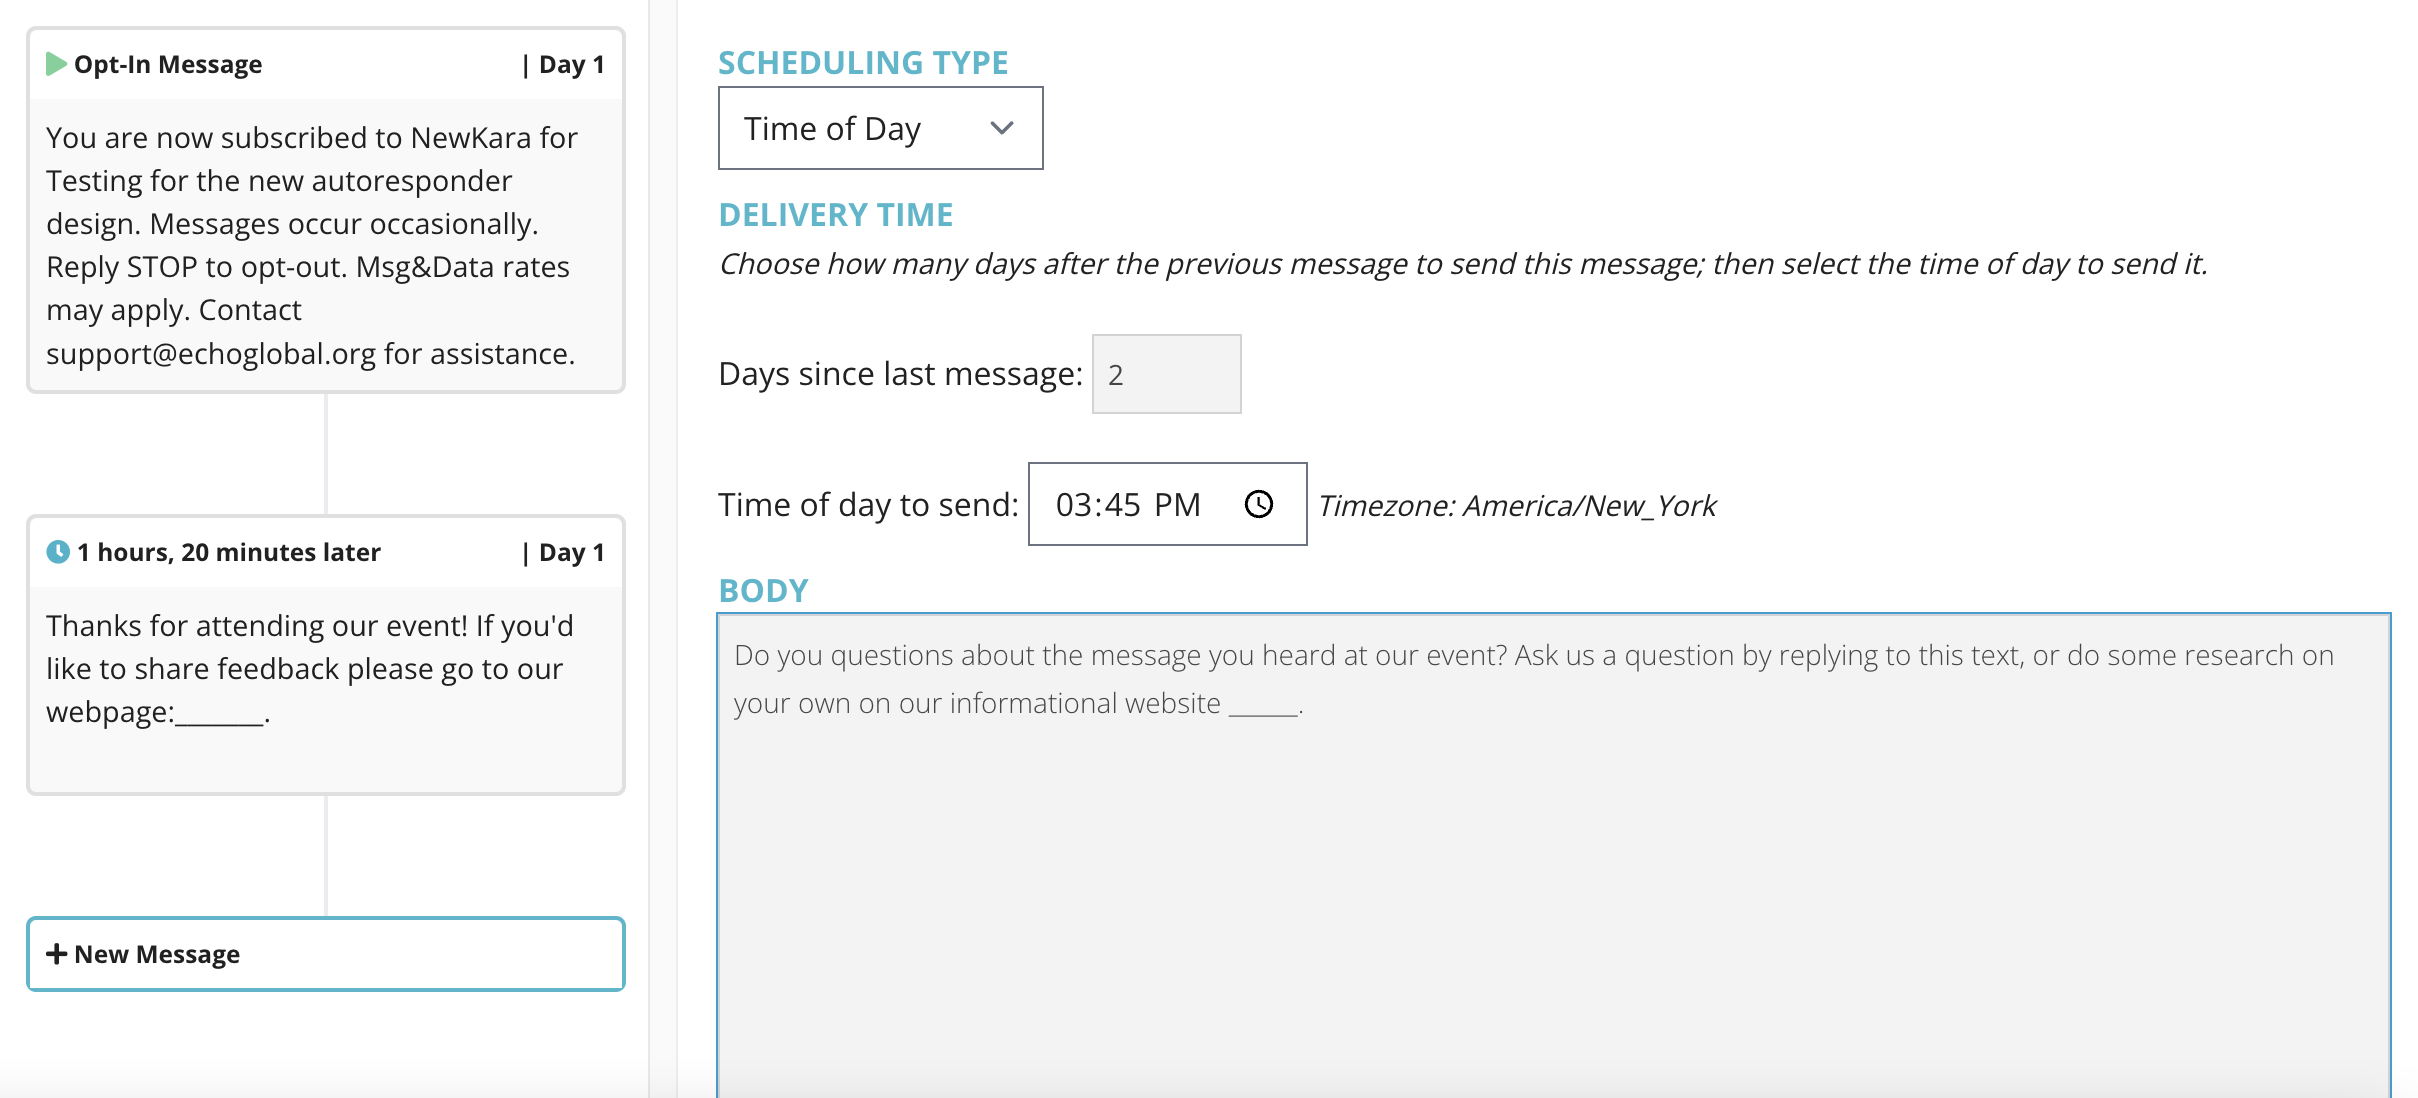
When I click save, you can see this message in the stream with the timing information at the top. The Time of Day option is denoted by the black clock icon.
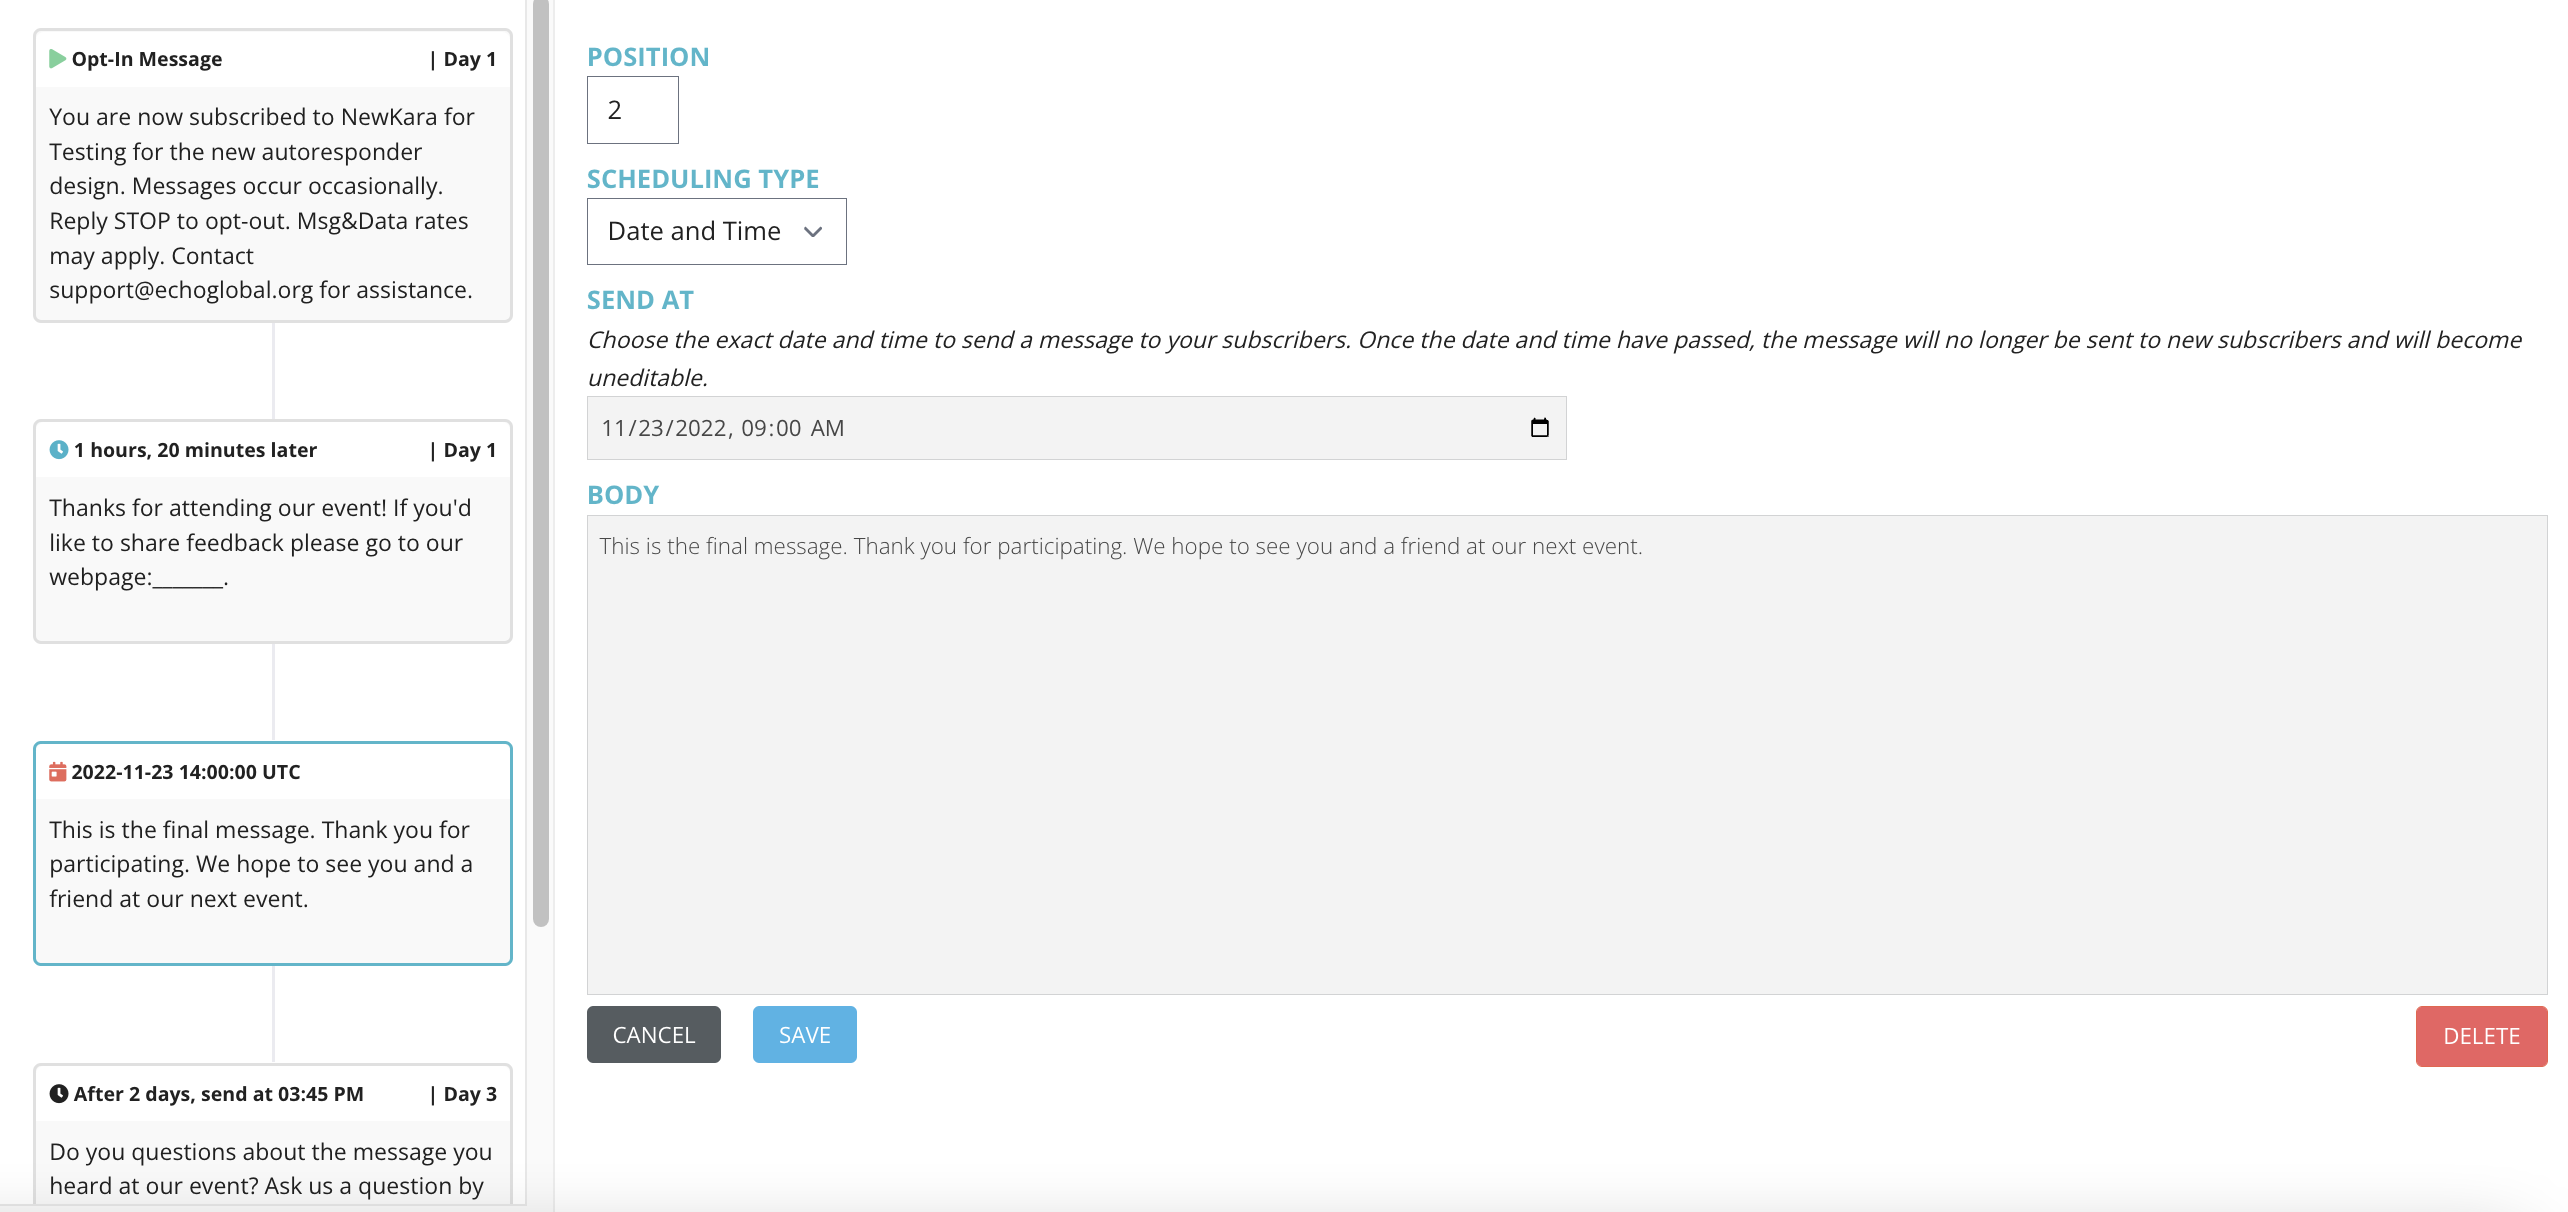
Date and Time
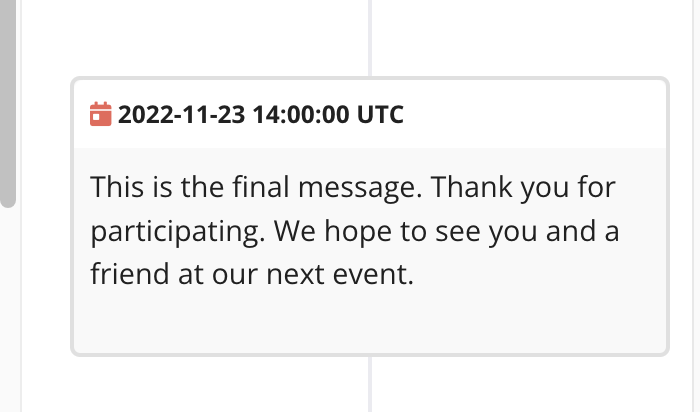
The last message in my campaign is going to use the Date and Time scheduling option. Date and Time messages will be scheduled to go out at the specific date and time specified. Once that date and time has come and gone, the message will no longer be editable and will no longer be sent to any new subscribers, so use this option wisely. If subscribers will be entering your campaign across days or weeks and you want them to receive the complete message stream, you don't want to use the Date and Time option unless you are sure all subscribers will be at this message before the date and time used.
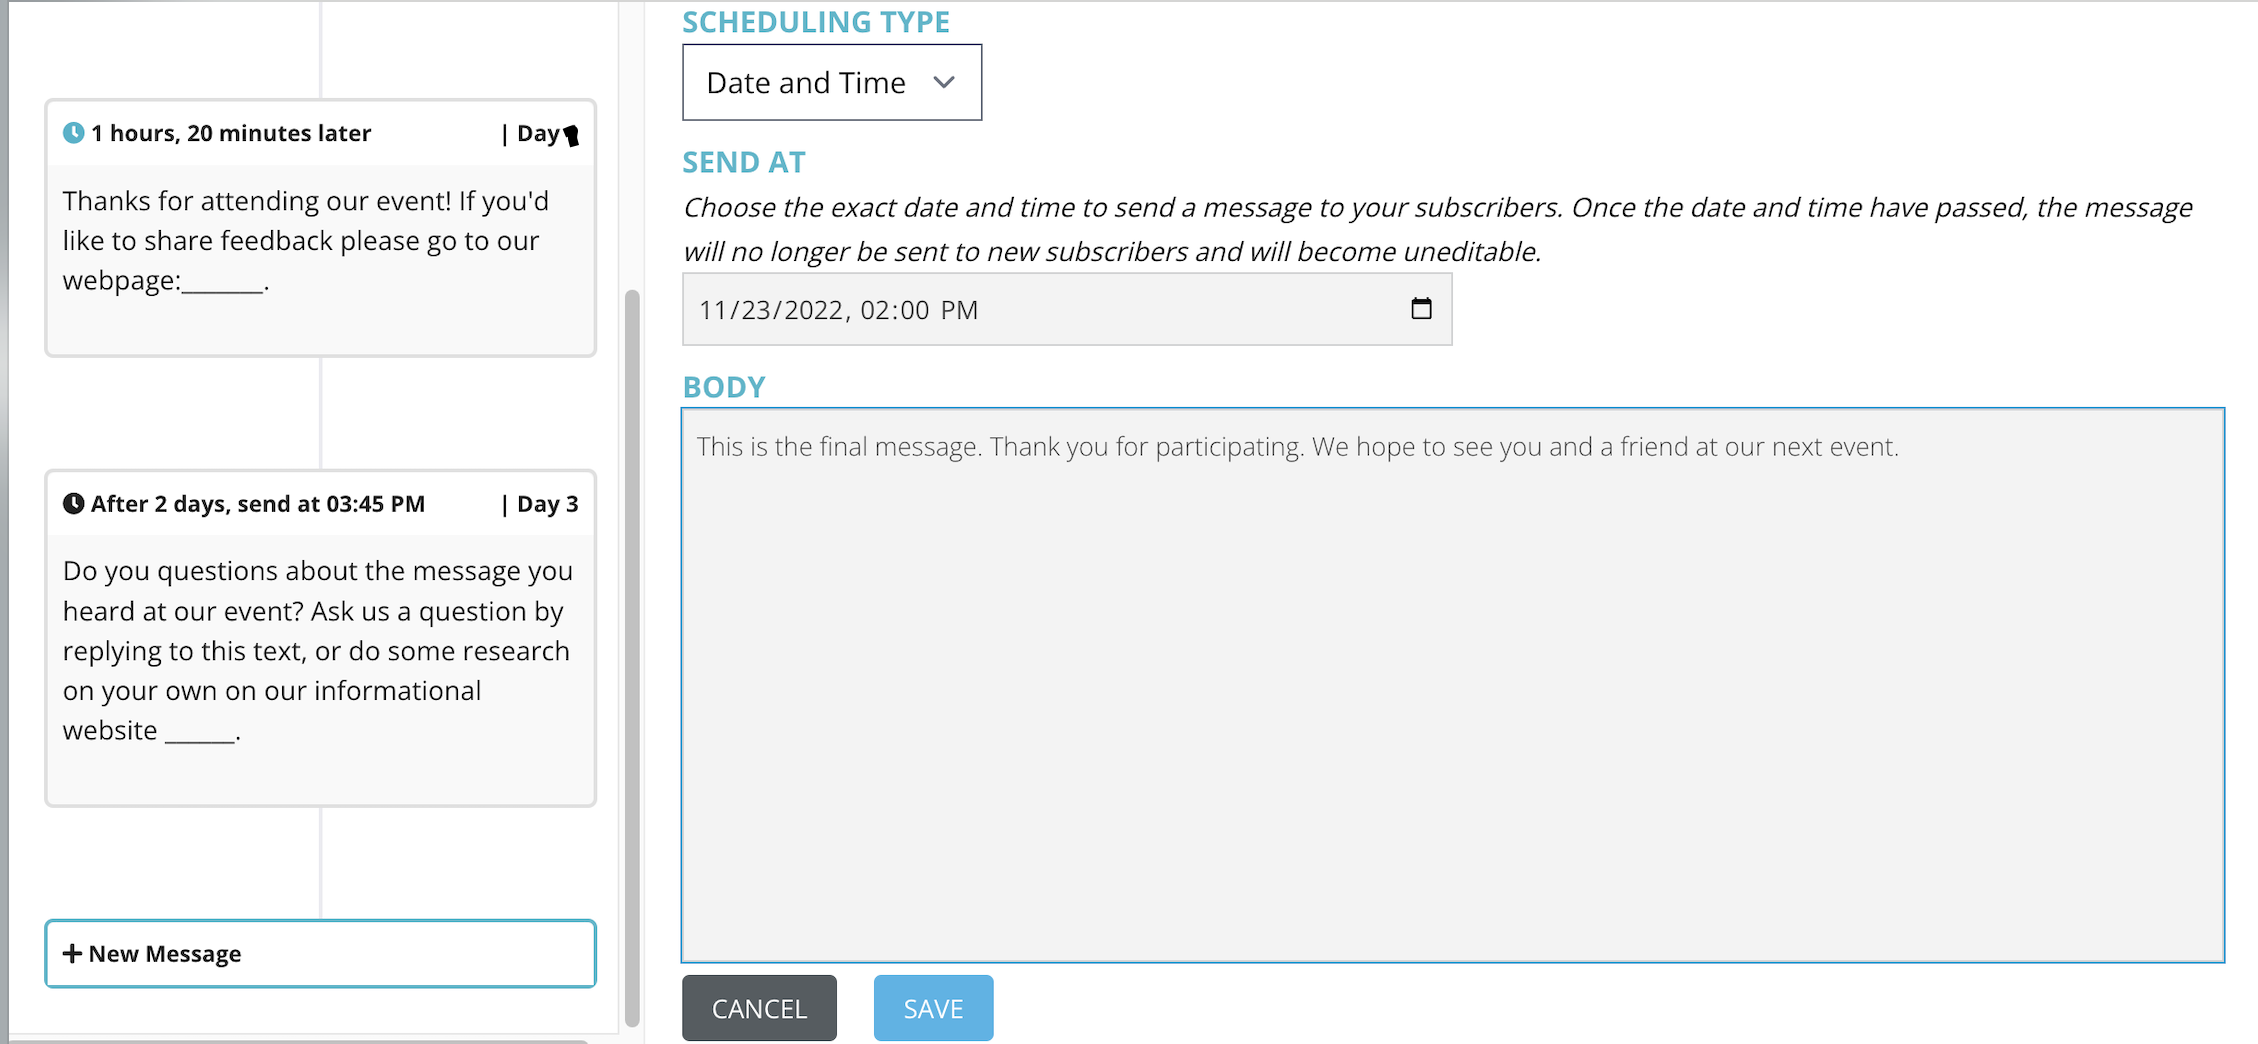
When I click save, the Date and Time option is denoted by the red calendar and I can see when this message will go out at the top.
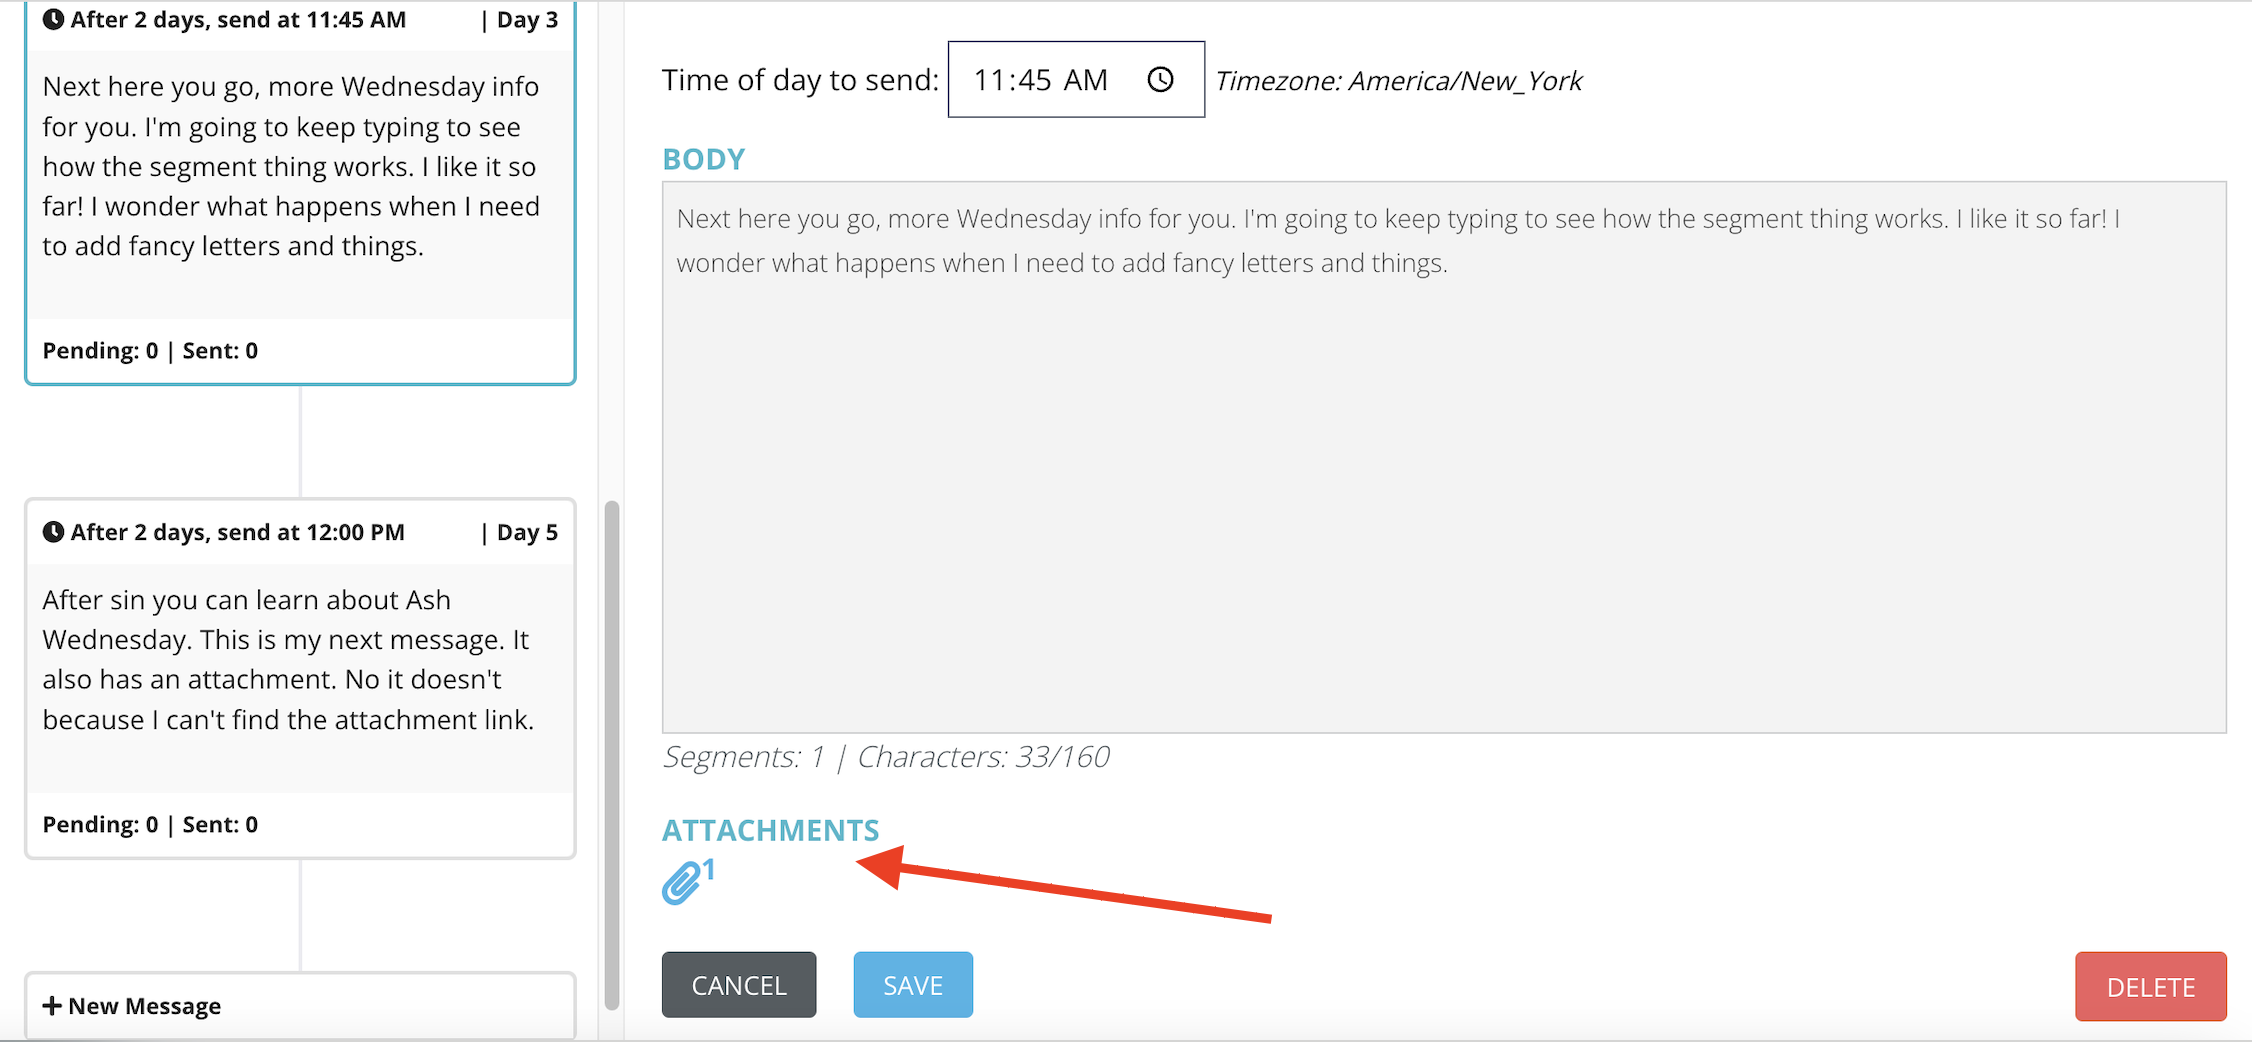
Adding an Attachment
Once you create and save a message, you can add an attachment to it.
Before you can add attachments to your messages, you first need to create your attachments library. Go to Admin>Attachments (found at the bottom of the admin menu).
To add an attachment to your library, start by clicking on the + New Attachment button.
Provide your Attachment a Title or Name that will help you and your team identify the attachment content.
Click on Choose File to select a file from your computer.
Click Upload
Once the attachment loads, you will find a preview, the title, and the size of the file listed in your attachment library.
Once you completed uploading attachments to your library, you are now ready to add an attachment to your auto-responder.
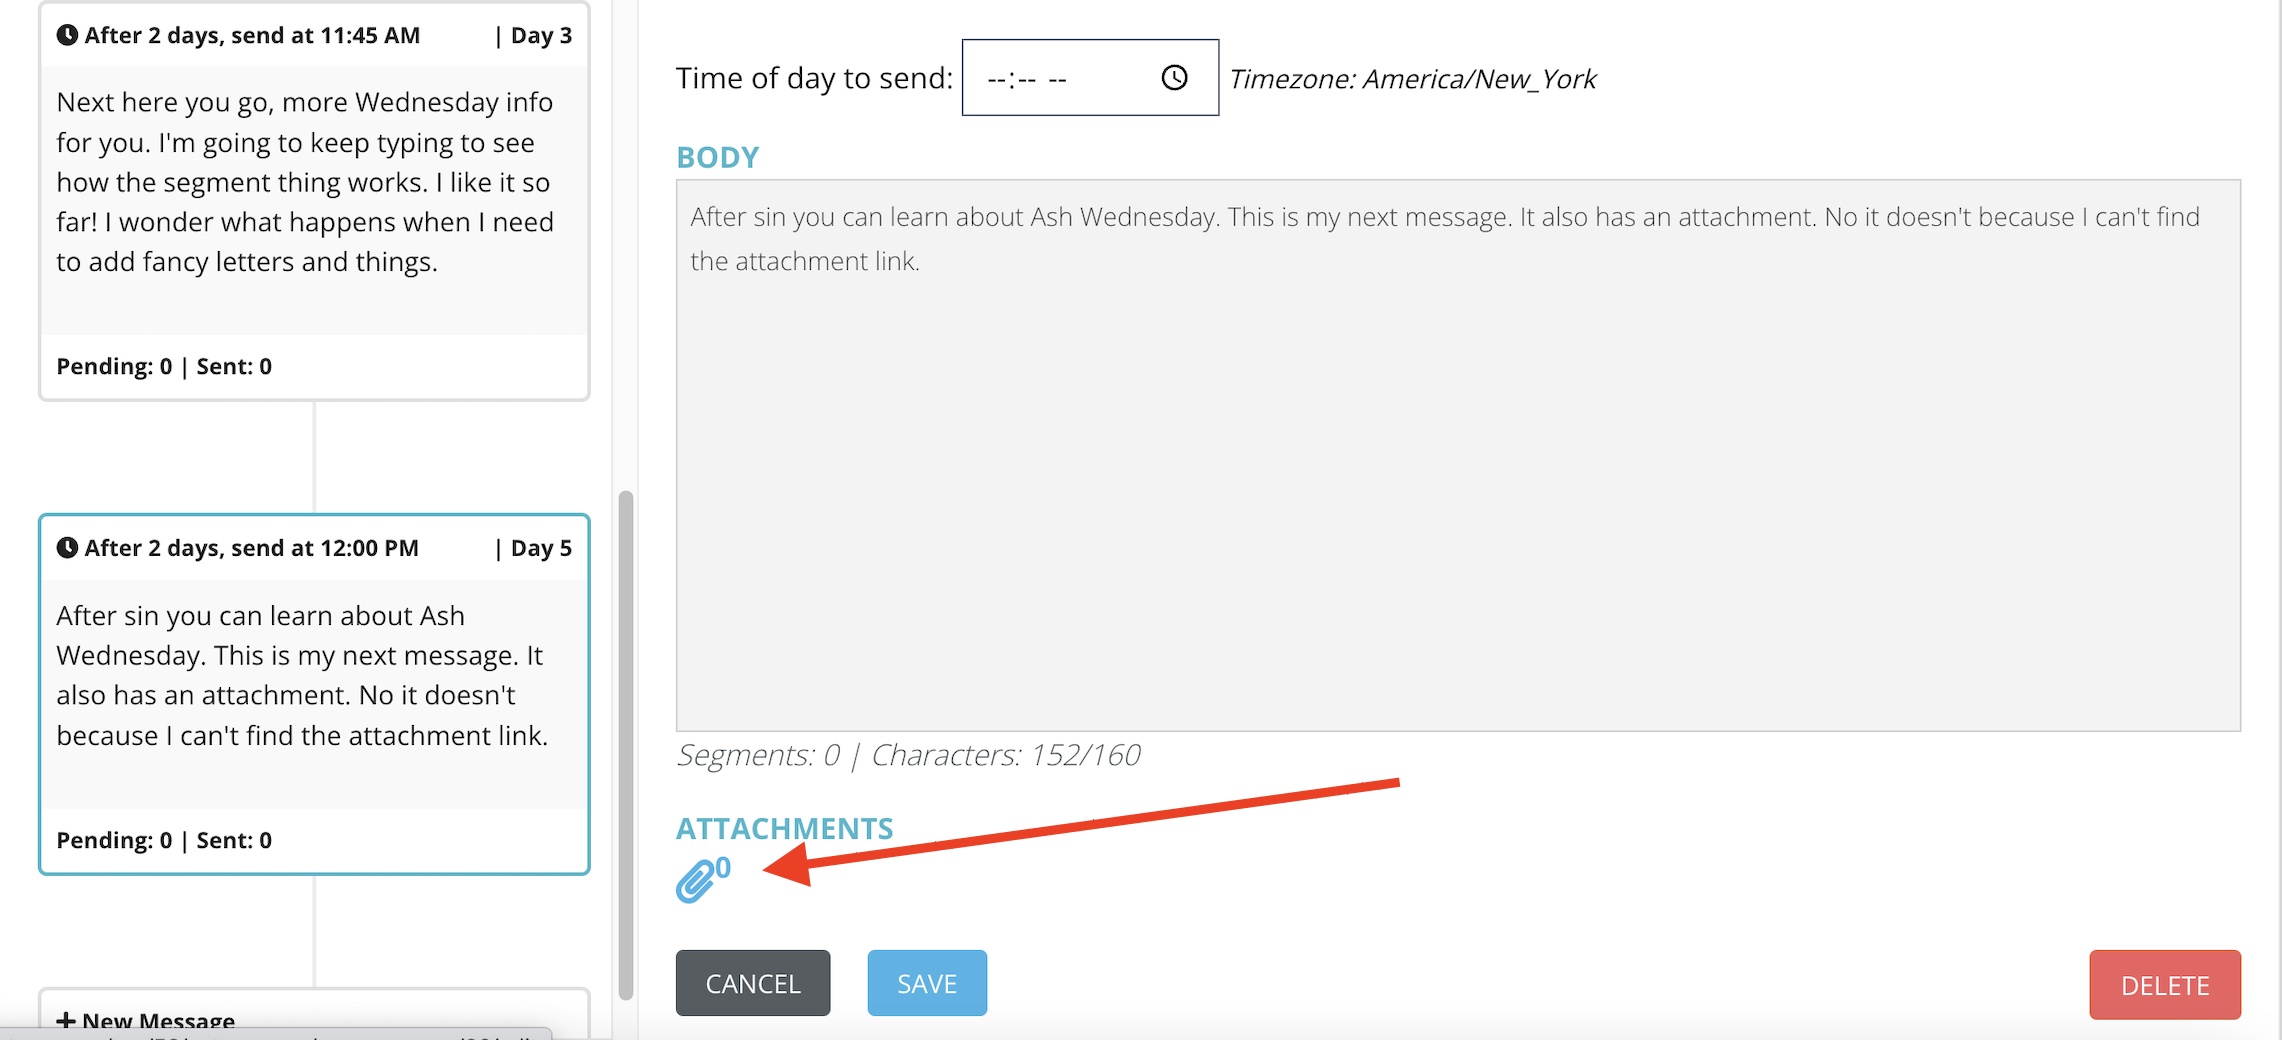
Back in your existing autoresponder message, click on the paperclip icon in the message edit area, which will take you to the attachments library.
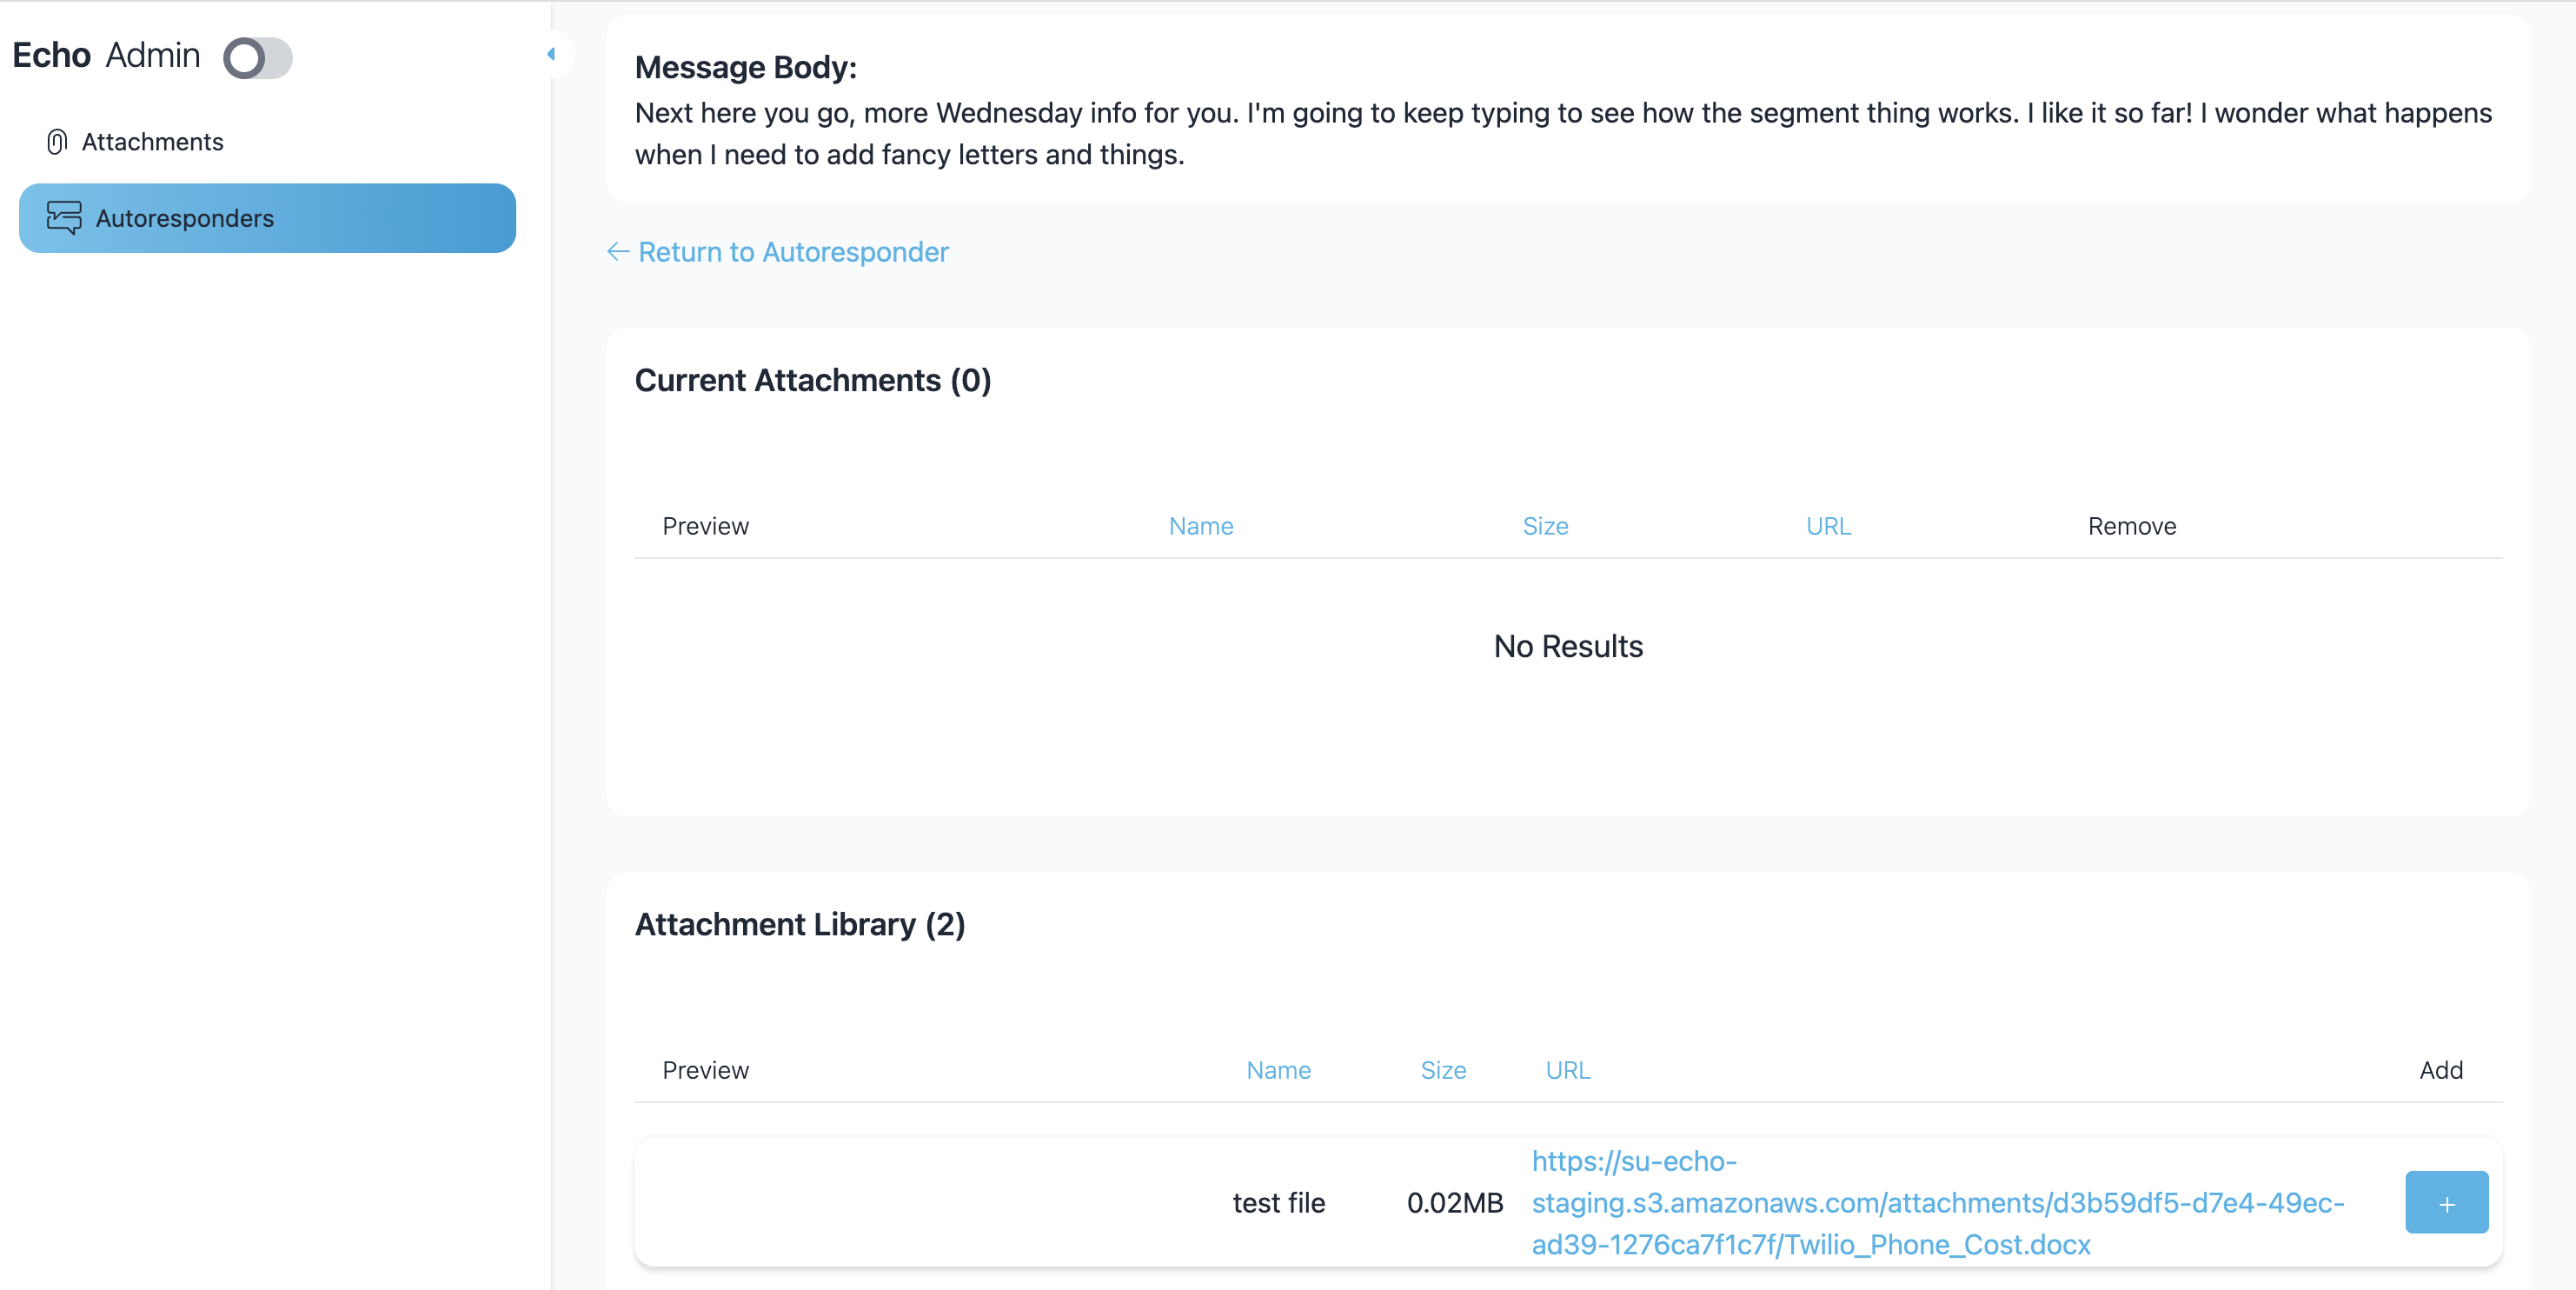
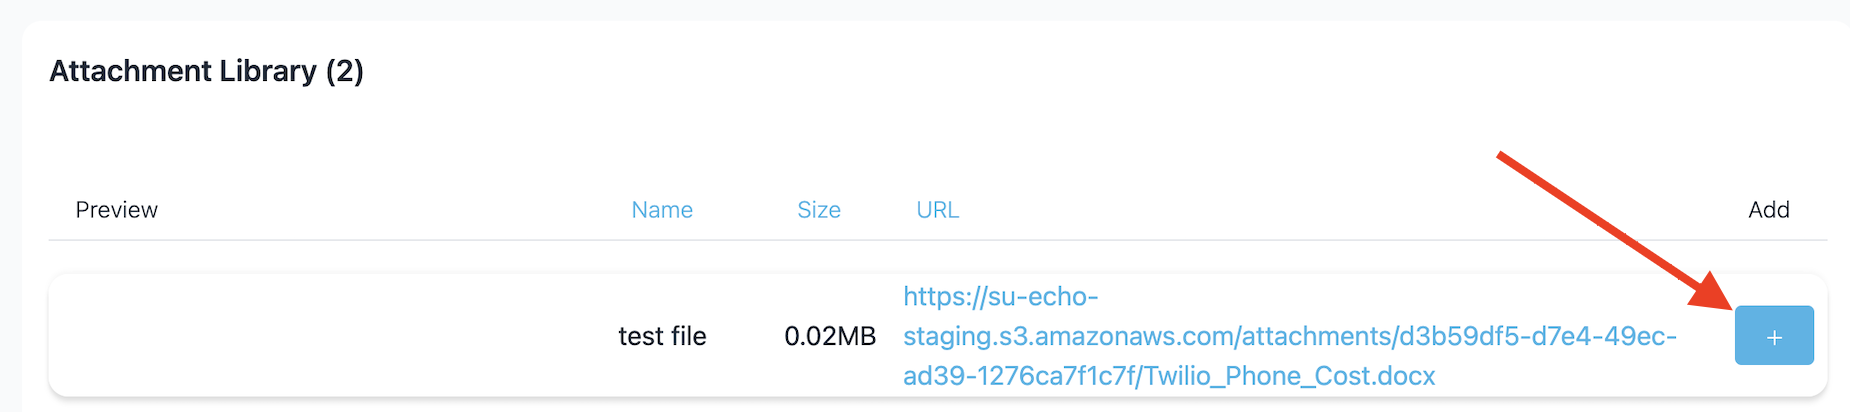
To add an attachment to your message, click on the + button next to the attachment file, which will display then display that file under "current attachments".
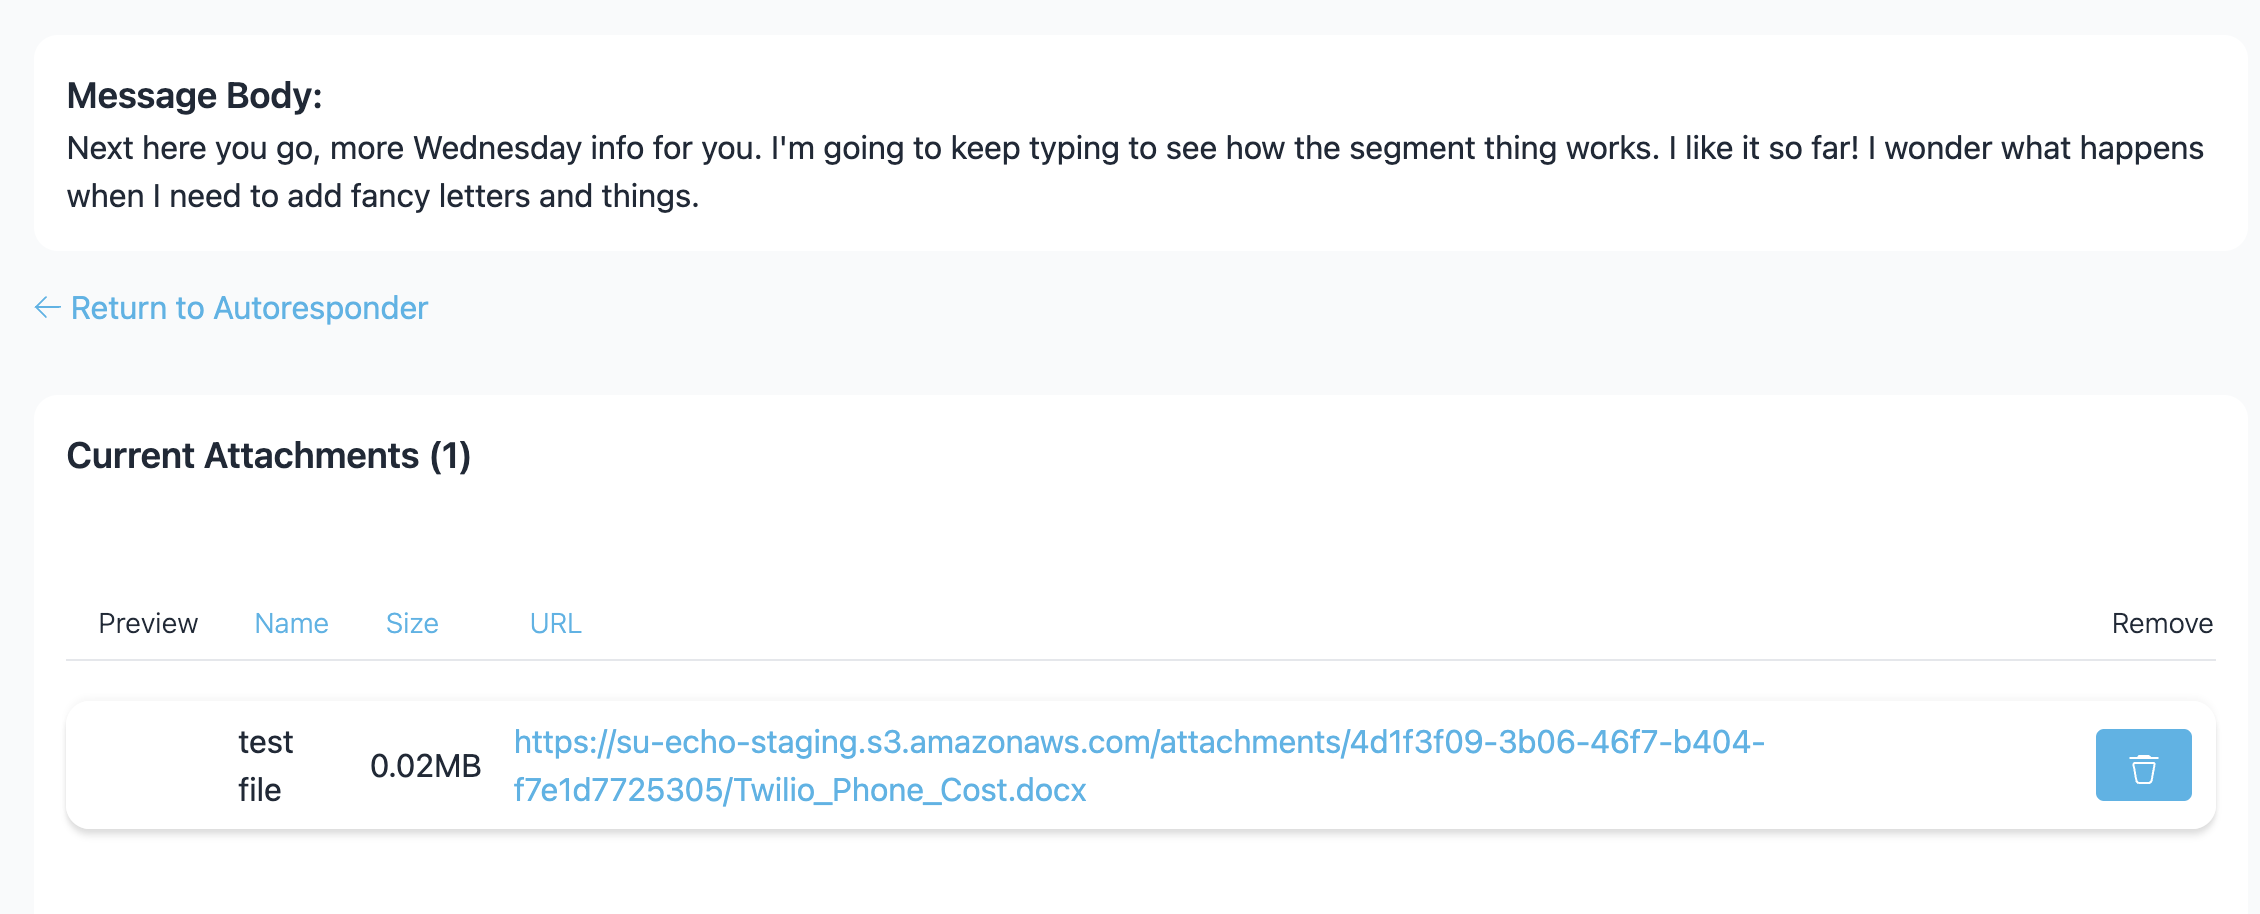
Once you've added your desired attachment file to the current attachments area, click on "Return to Autoresponders" to get back to your message stream.
Now when you click on your message, you will see a "1" beside the paperclip icon in the edit area of your message.
Editing your Message Stream
Editing message position - When you select (click on) an existing message, you will see the edit option open to the right of the message. The field you will see shows the message position in the stream. You can change the positioning by using the directional arrow to move the message, resulting in that message moving up or down in your stream on the left.
Editing Scheduling Type - You can change the "scheduling type" and "send at" information for existing messages. If a subscriber has not reached that message yet, they will get the message at the new time given. If a subscriber has already received that message, they will not get it again after you change the timing.
Editing Message Body - You can edit the message body at any time. Subscribers who have already received that message will not get the updated information. But new subscribers will get the new content when they receive that message.
Make sure you click the Save button after making changes to save those changes.
Clicking the Delete button will delete the entire message from the message stream.
Clicking the Cancel button will close the editing screen without saving any updates.
When you've complete your auto-responder message stream, you will be able to see all of the message in order from start to finish and should have a clear display of each message type, when each message will send, and how many days your message stream will last for the subscriber.
Send a Blast
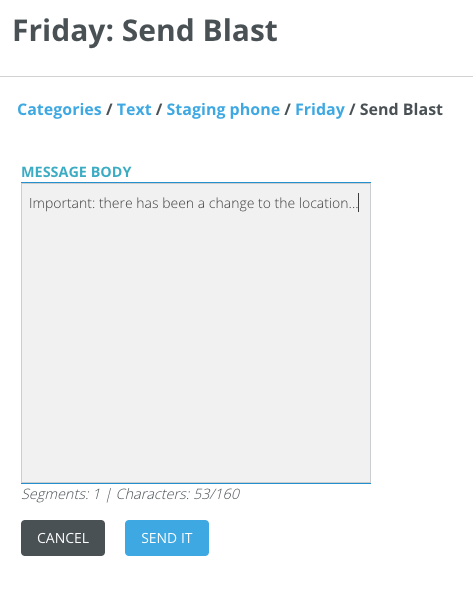
You may encounter a situation where you want to send an immediate message to your subscriber list outside of the autoresponder stream. In this case, rather than adding a message to the bottom of the stream, you can click the "Send Blast" button in the upper right corner of your screen.
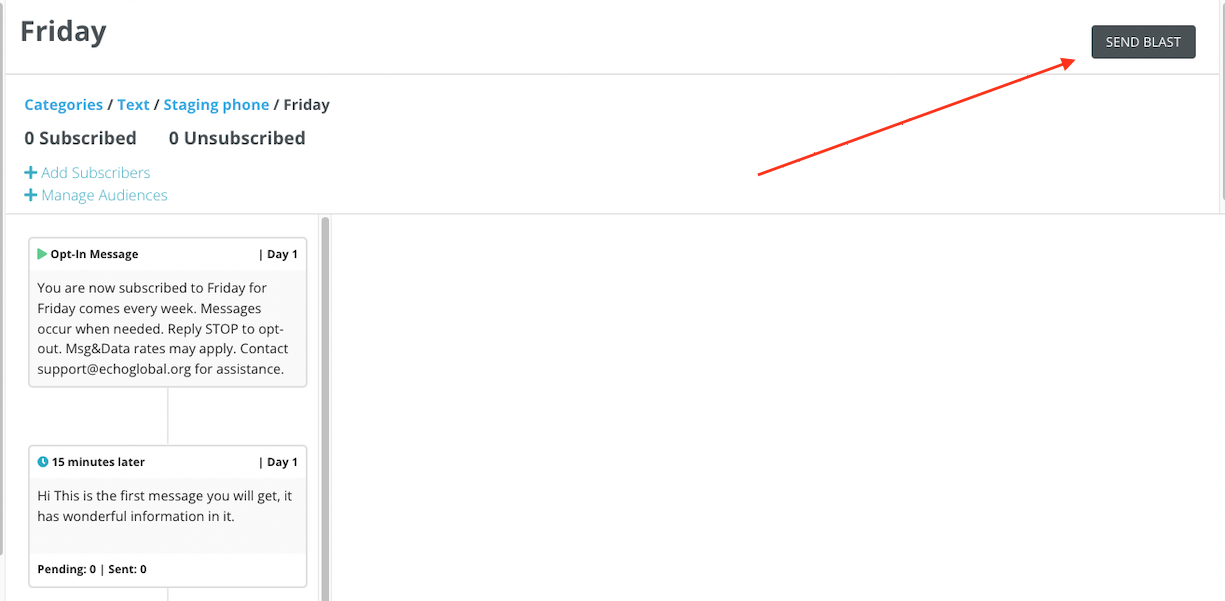
This will open a Message box where you can add content and then click the "Send It" button. This message will go to everyone subscribed to the specific campaign within 10-15 minutes of sending. It doesn't matter where your subscribers are in the autoresponder stream, they will receive this message right away.
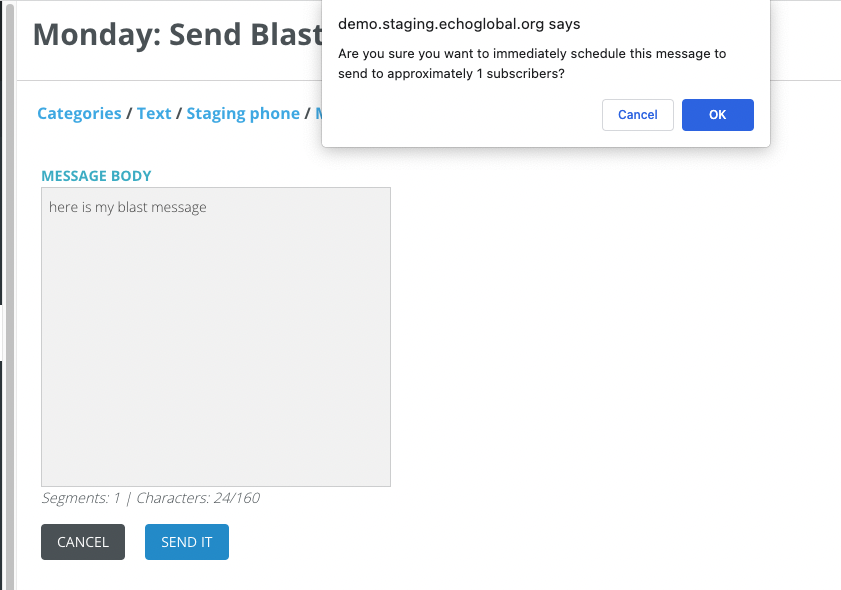
You will get a confirmation message once you click on "Send It"
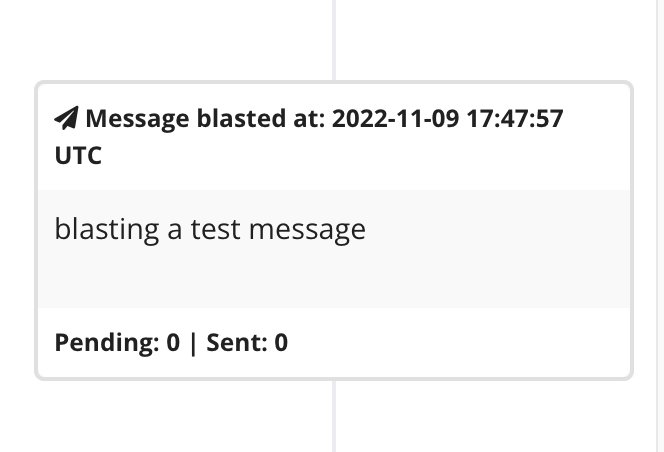
A message that has been sent by blast will be added to the bottom of the autoresponder stream and will be denoted by a black arrow and will say "message blasted" with the date and time.
Archive an Inactive Campaign
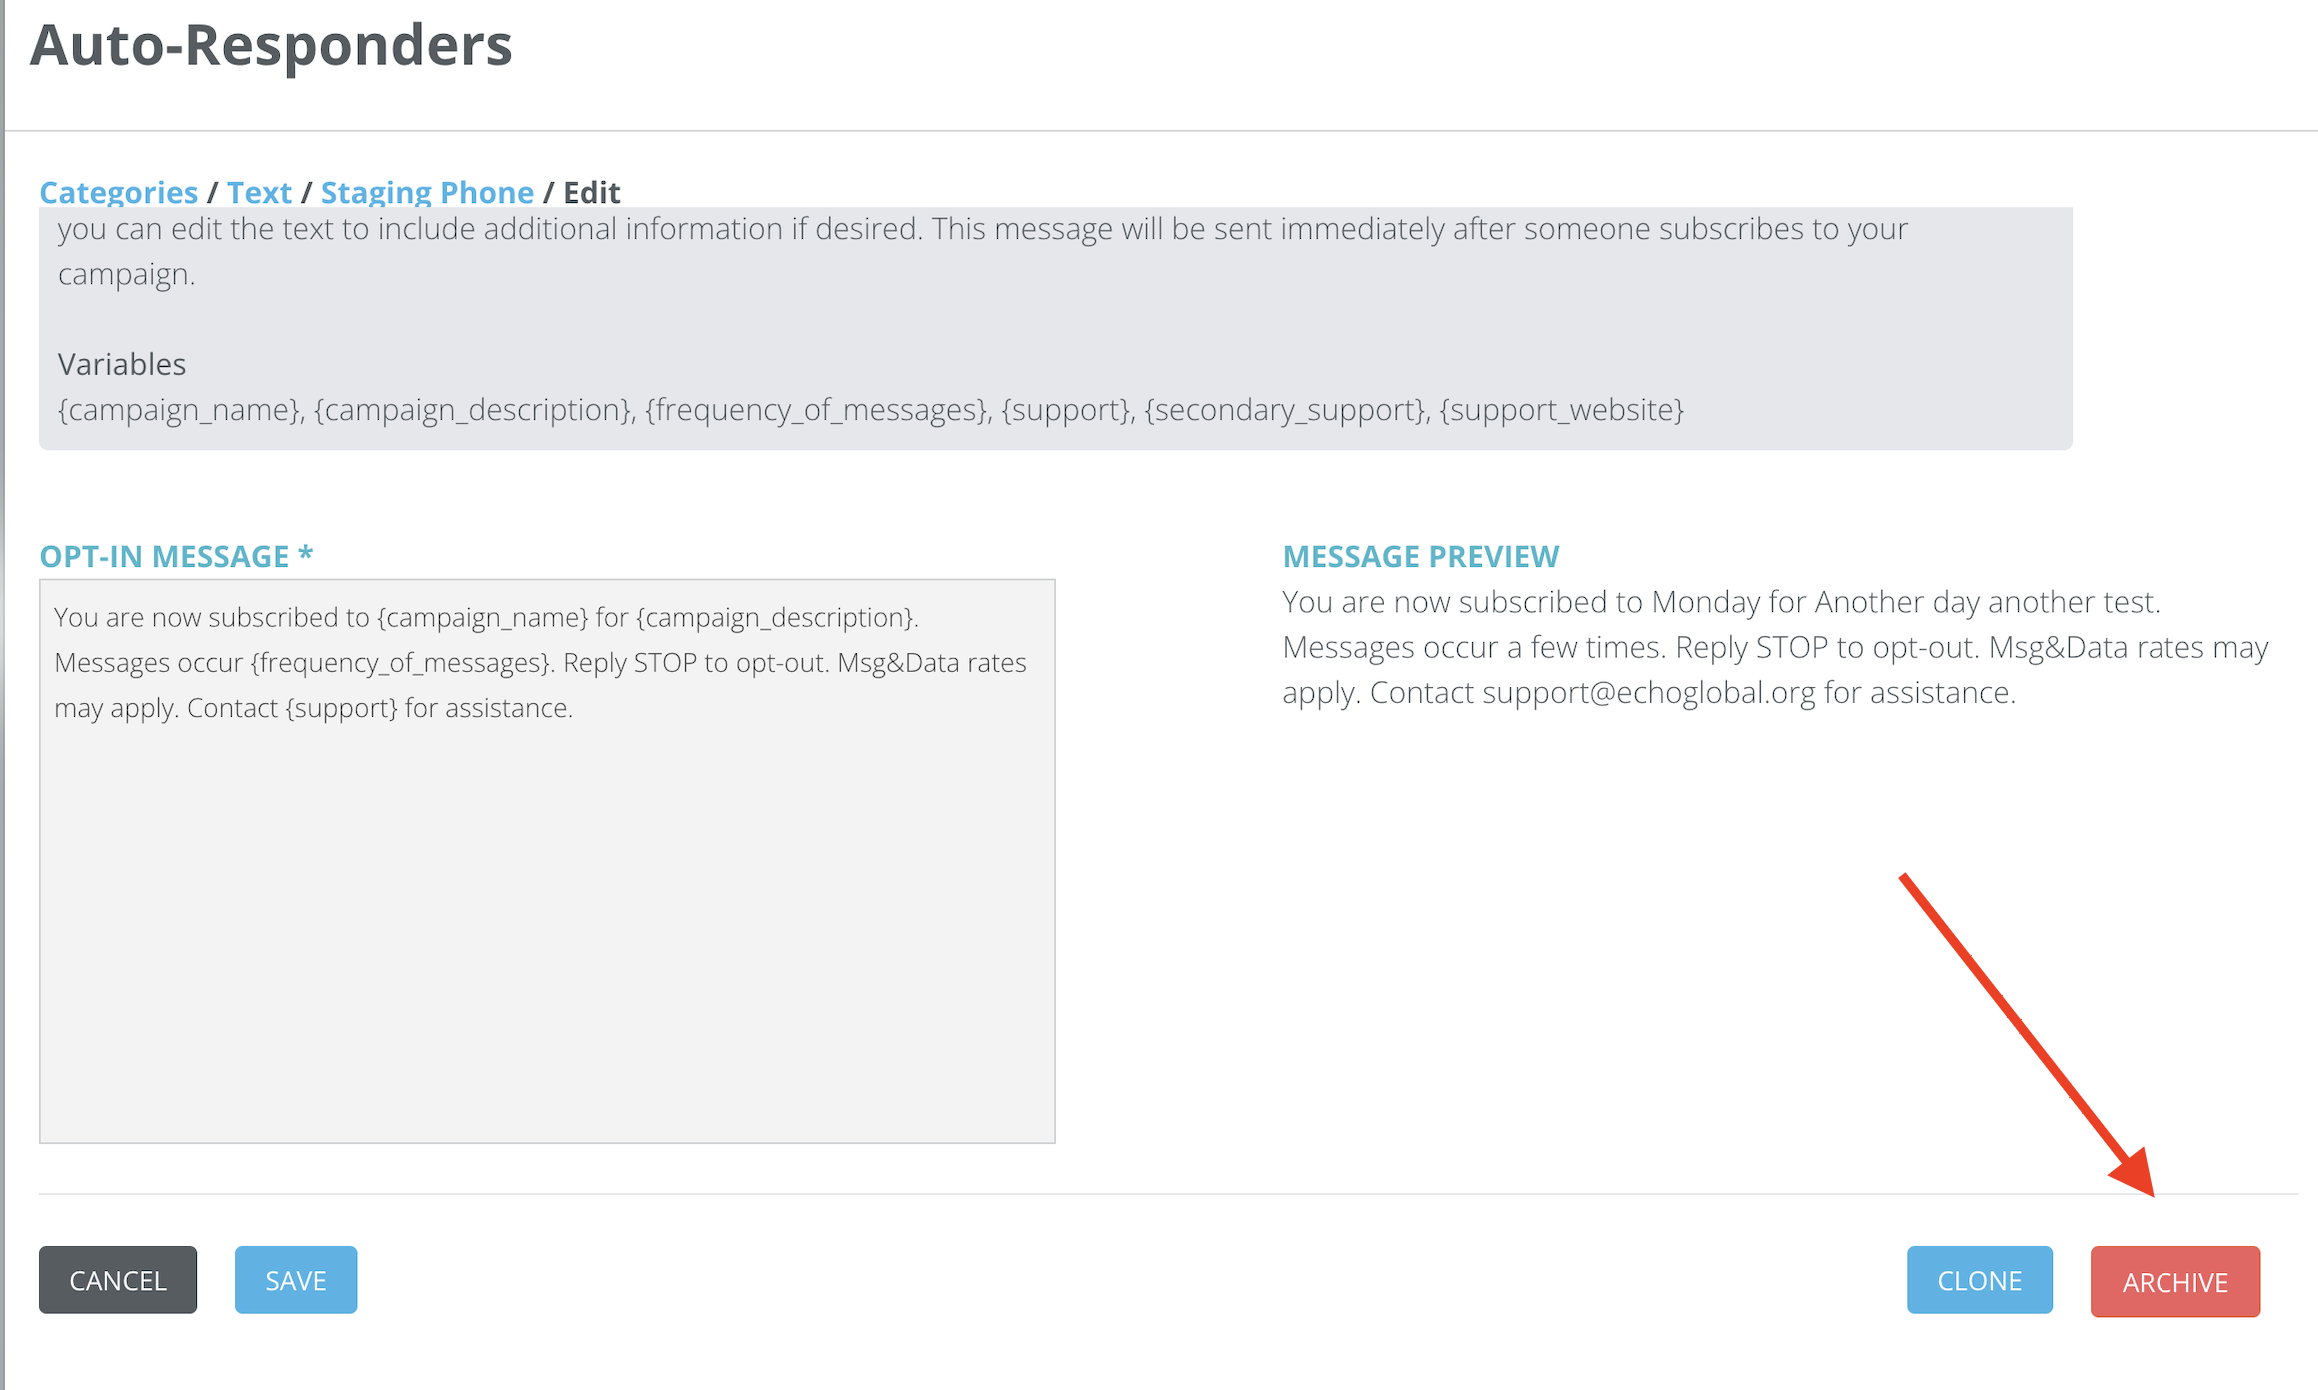
If you want to remove a campaign from your list of active campaigns and from the options of subscriptions your users can subscribe people to, you can use the Archive button located in the Edit Campaign area.
Click on Edit, like you are editing your campaign information. Scroll to the bottom of the page and in the lower right corner, you will see the Archive button.
Click Archive and you will see the campaign disappear from your campaigns list.
There is not currently a "retrieve archived campaign" feature yet, so please be sure you really want to archive your campaign before doing so.
Archived campaigns will show up in autoresponder reports if it was active during the report date range selected.
Clone an Old Campaign
If you want to set up a new campaign that is similar to an old one, you can clone the old campaign and then edit it with new content to save time.
From the Edit page of the old campaign, click on the Clone button, which will then ask you to adjust the campaign information for your new campaign.
Once you save this information, you will find our new campaign in the list of keyword campaigns and you can click on the Messages button to edit your campaign messages.